
DIY Air-Dry Clay Animal Figurines: 15 Fun Projects
Okay, let’s talk clay! Specifically, that wonderfully forgiving stuff called air dry clay. You know, the kind that doesn’t require selling a kidney to afford a kiln? Yeah, that stuff. If you’re anything like me, you’ve probably got a block of it sitting somewhere, maybe bought on a whim during a late-night crafting spree browse. Or perhaps you’re just clay-curious?
Either way, you’re in the right place. Forget complicated sculptures that end up looking… abstract (we’ve all been there). We’re diving into 15 easy air dry clay animal craft ideas that are genuinely simple, super fun, and won’t make you want to throw your tools across the room. I promise! Let’s squish some clay and make some adorable critters together.
Why Air Dry Clay is Basically Magic
Before we get our hands dirty (literally), let’s just appreciate air dry clay for a sec. Why is it so great for these kinds of projects?
- No Kiln Needed: This is the big one, right? Your kitchen oven remains blissfully unaware of your crafting habits. It just dries in the air. Magic!
- Super Forgiving: Made a mistake? Ball it up and start again (while it’s still wet, obviously). It’s pretty chill like that.
- Easy to Find & Affordable: Most craft stores carry it, and it won’t break the bank. You can experiment without feeling guilty.
- Paintable & Sealable: Once dry, you can go wild with paints, markers, glitter – whatever floats your boat. A little varnish makes it look quite professional, too.
Honestly, it’s the perfect medium for a relaxed afternoon craft session. No pressure, just squishy fun.
Gearing Up: What You’ll Need (Probably Not Much)
You don’t need a fancy studio setup. Seriously. Here’s the basic arsenal:
- Air Dry Clay: Duh. Choose a reputable brand; some cheaper ones can be annoyingly crack-prone. I personally like DAS or Crayola Air Dry Clay for consistency.
- A Work Surface: A non-stick mat, wax paper, or even just a clean tabletop you don’t mind getting a bit messy.
- Small Bowl of Water: Essential for smoothing surfaces and joining pieces. Just a tiny bit goes a long way.
- Basic Tools:
- Rolling Pin: A small craft roller or even a smooth glass bottle works.
- Cutting Tool: A plastic clay knife, an old butter knife (don’t tell the kitchen police), or even a toothpick.
- Sculpting Tools (Optional but helpful): Basic shaping tools are cheap and useful for details, but fingers work wonders too! Toothpicks, skewers, and the end of a paintbrush are also great DIY tools.
- Paint & Brushes: Acrylic paints work best. Get a variety of colors!
- Sealant/Varnish (Optional): A clear acrylic spray or brush-on varnish protects your masterpiece. Mod Podge is a popular choice, too.
See? Nothing too intimidating. You probably have half this stuff lying around already.
Let’s Make Some Critters! 15 Easy Air Dry Clay Animal Ideas
Alright, the moment you’ve been waiting for! Remember, these are easy ideas. Think simple shapes, minimal frustration, maximum cuteness. Don’t aim for photorealism unless you enjoy mild torture. 😉
1. Simple Snail:
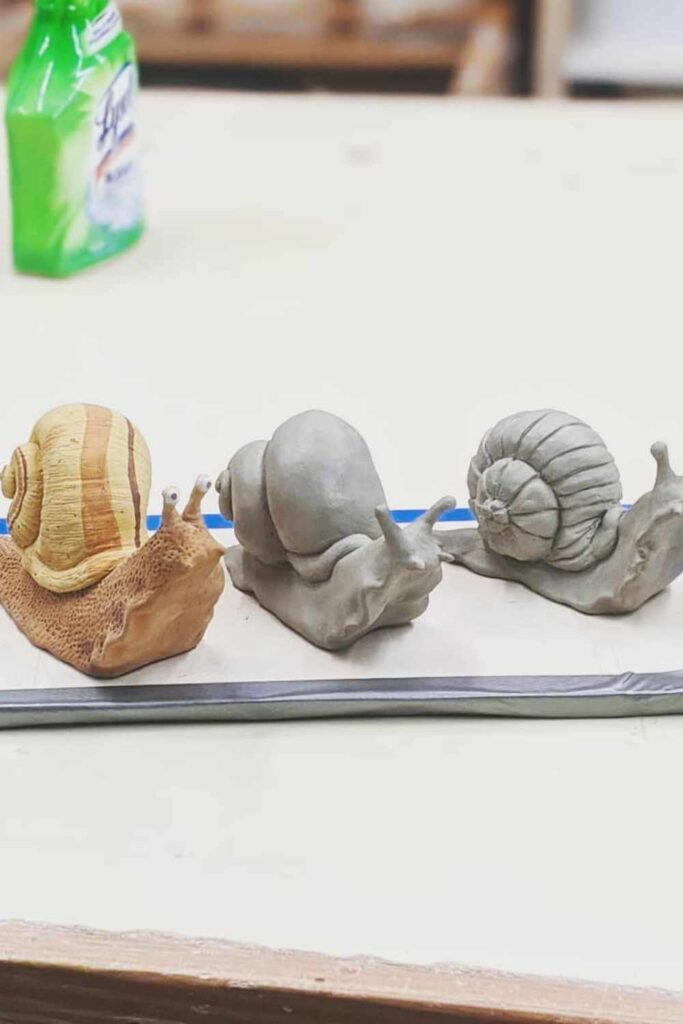
The quintessential beginner project! Roll a sausage shape for the body. Roll another piece flat, then curl it up into a spiral for the shell. Stick the shell onto the body using a dab of water or slip (mushy clay/water mix). Poke two little eye stalks with a toothpick. Done! How easy was that?
2. Chubby Owl:
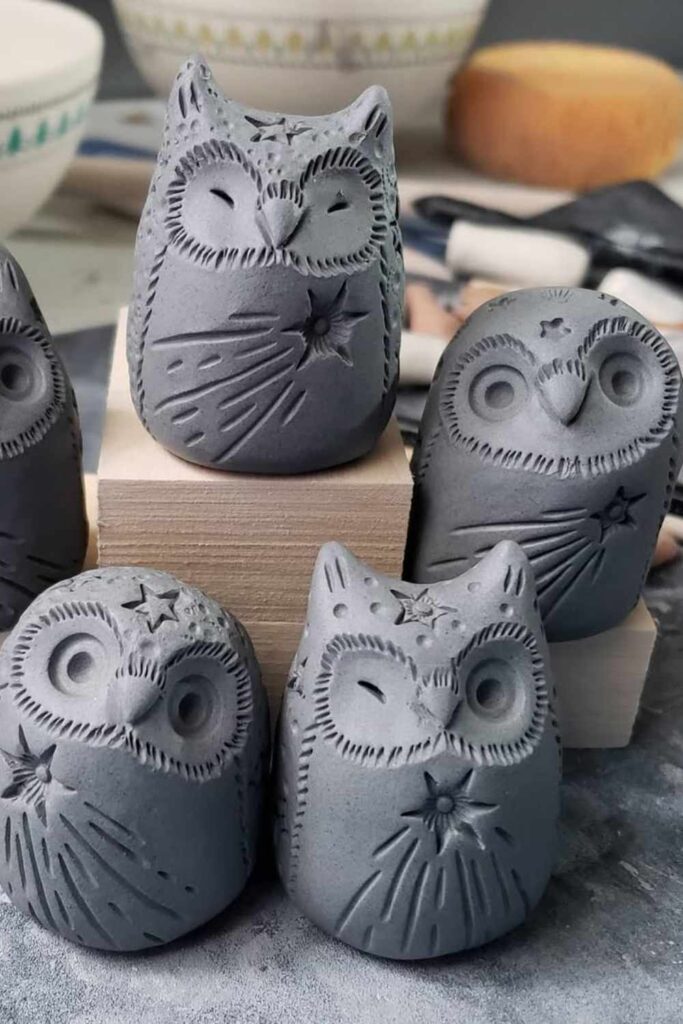
Start with a slightly flattened ball for the body. Pinch two little pointy bits at the top for ear tufts. Use the end of a paintbrush handle or a similar tool to press in two large circles for eyes. Add a tiny beak triangle. You can etch feather patterns with a toothpick once it’s slightly firmed up.
3. Lazy Cat:
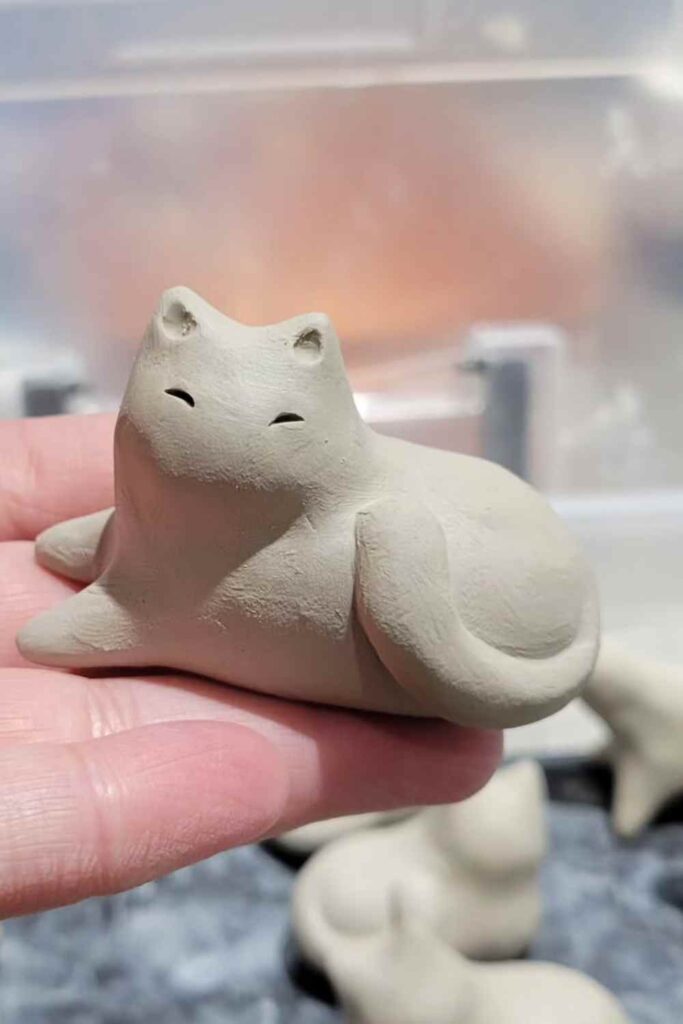
Think ‘loaf’. Roll a thick sausage shape. Gently flatten one end and pinch two small triangles for ears. Add a long, thin tail rolled separately and attach it with slip. You can paint on sleepy eyes and whiskers later. Bonus points if you pose it curled up.
4. Wiggly Worm:
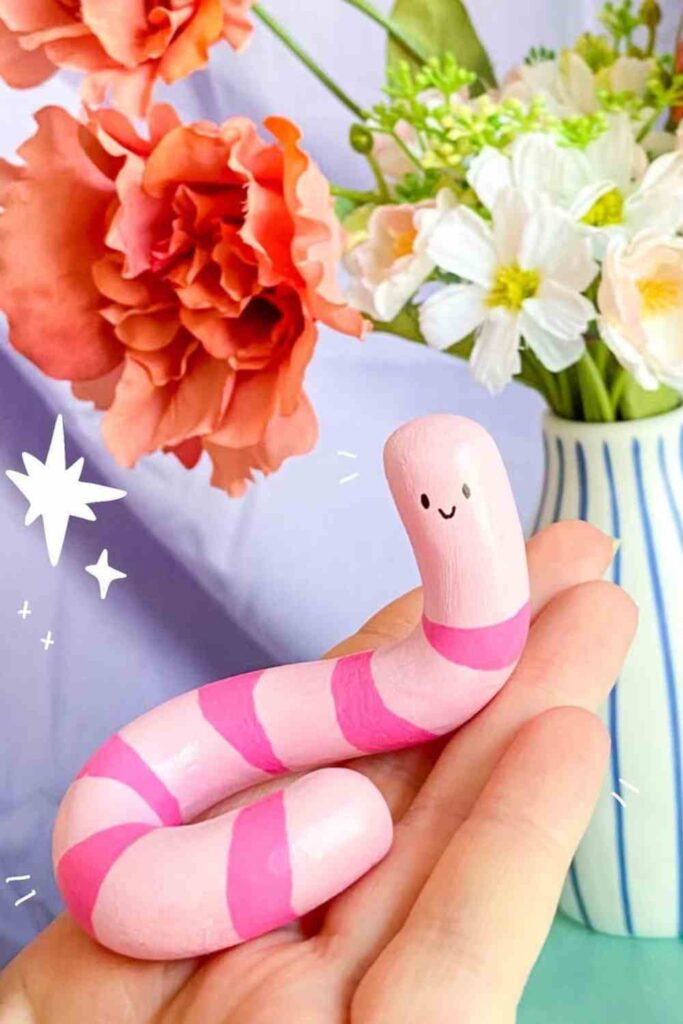
Could it be any easier? Roll a long, thin sausage. Give it a few gentle bends. Maybe add tiny dot eyes with paint later, or just leave it minimalist. Perfect for using up tiny scraps of clay.
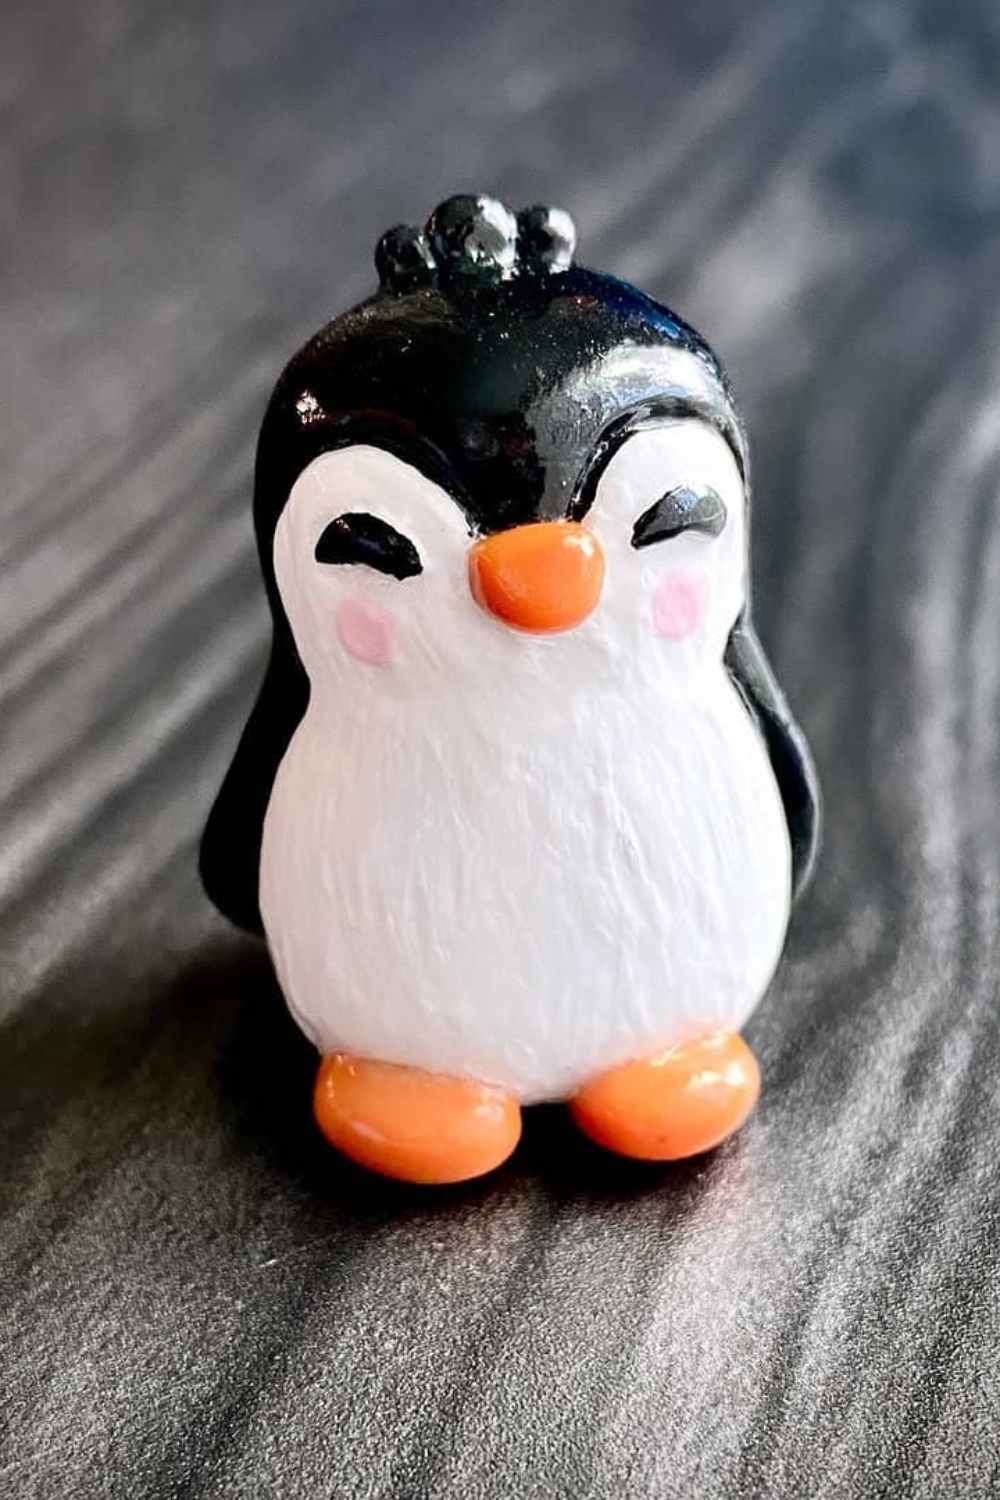
5. Plump Penguin:
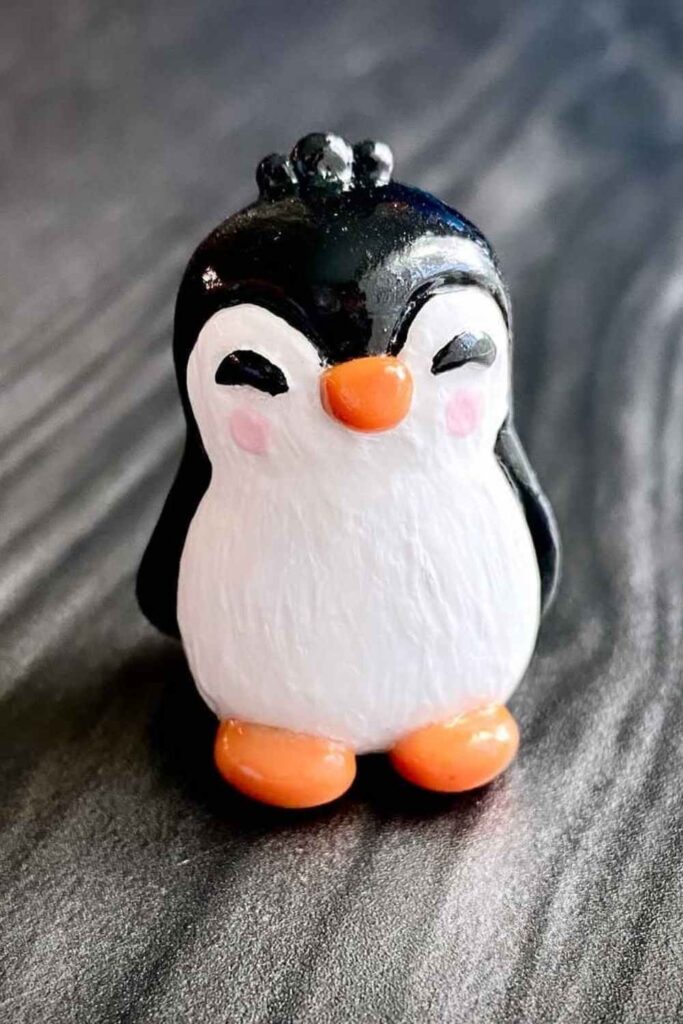
An egg shape is your friend here. Make a slightly flattened egg shape for the body. Add two small, flat teardrop shapes for wings, attached to the sides. A tiny cone for the beak and two little sausage shapes flattened for feet complete the look. Paint scheme does the heavy lifting here!
6. Spiky (but cute) Hedgehog:
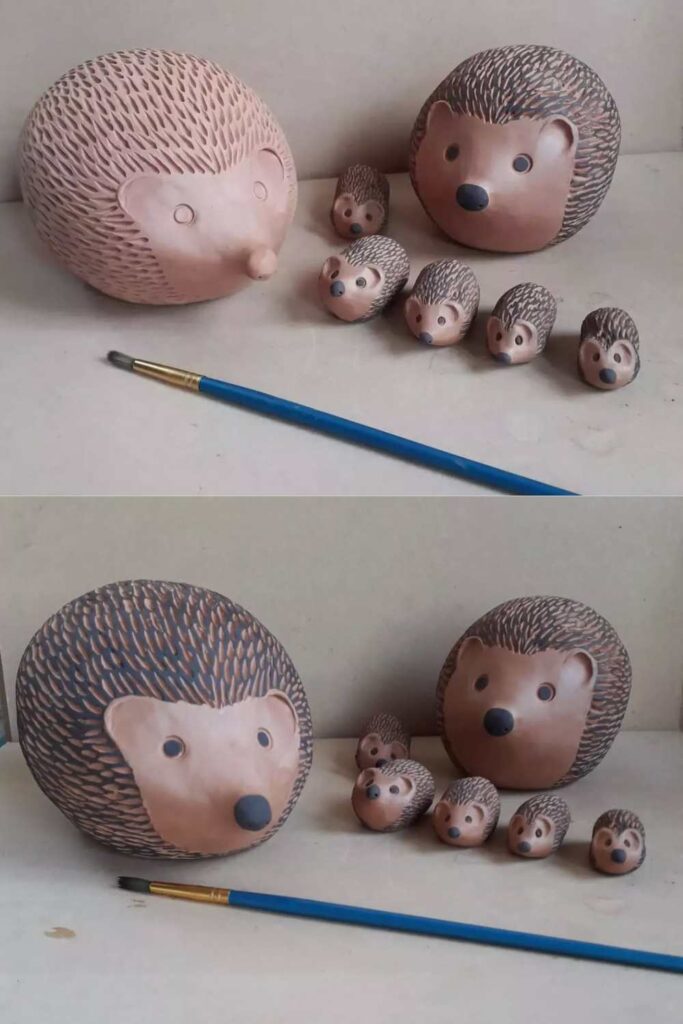
Make a teardrop shape for the body, pointy end being the nose. While the clay is still soft, use scissors to snip little “spikes” all over the rounded back (don’t cut all the way through!). Or, poke holes and insert small, dried clay spikes made separately. Add tiny ball eyes and a nose. This one’s surprisingly therapeutic to make.
7. Basic Bunny:
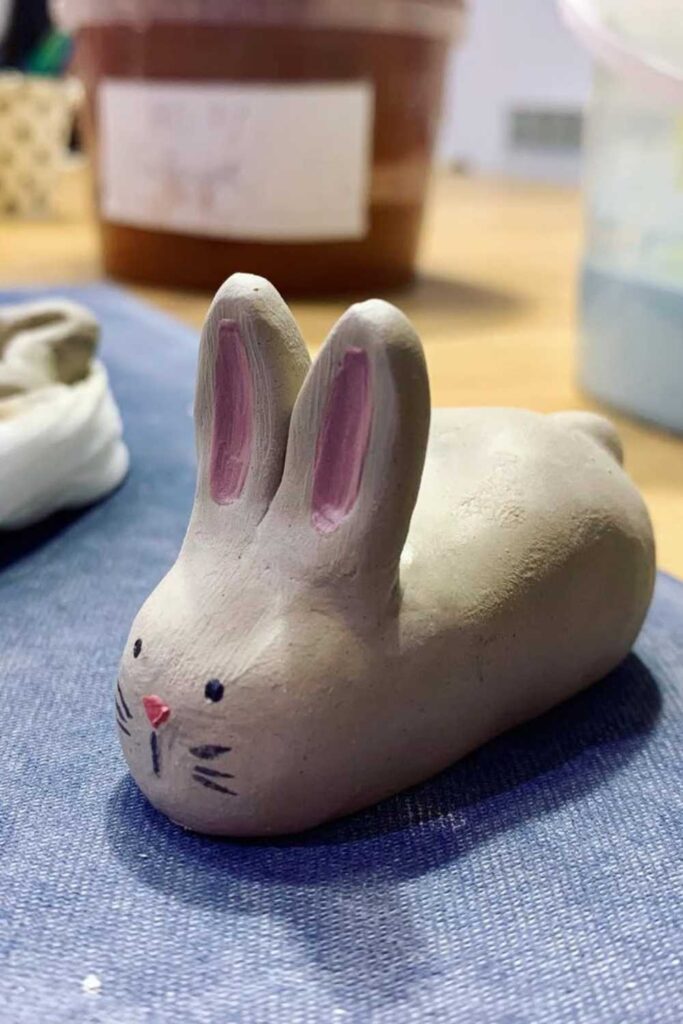
A ball for the head, a slightly larger oval for the body. Roll two long, flat oval shapes for ears and stick ’em on top. A tiny ball for a tail at the back. Simple, classic, adorable. What’s not to love?
8. Goofy Goldfish:
Start with a flattened oval or teardrop shape. Pinch a tail fin at one end. Add small, flat fins on the top and bottom/sides using slip. Use a tool to press in a round eye indent and maybe etch a simple scale pattern or mouth.
9. Tiny Turtle:
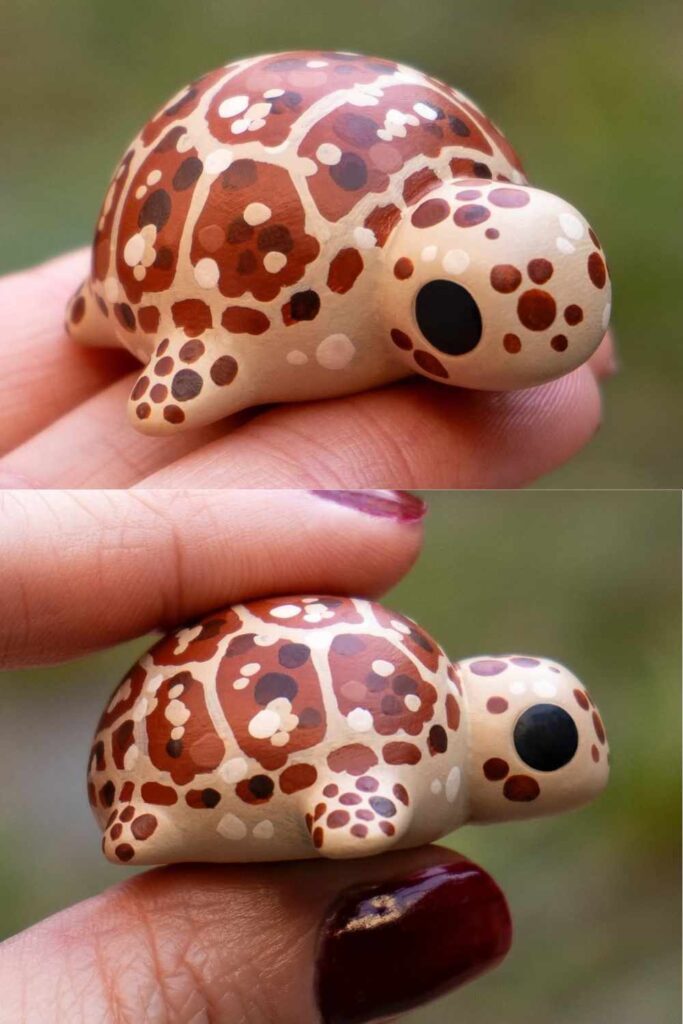
Make a dome shape for the shell (like half a ball). Make a small sausage for the head/neck, four stubby legs, and a tiny tail. Attach these underneath the shell. You can etch a pattern onto the shell with a toothpick. Patience is key when attaching the little limbs.
10. Little Ladybug:
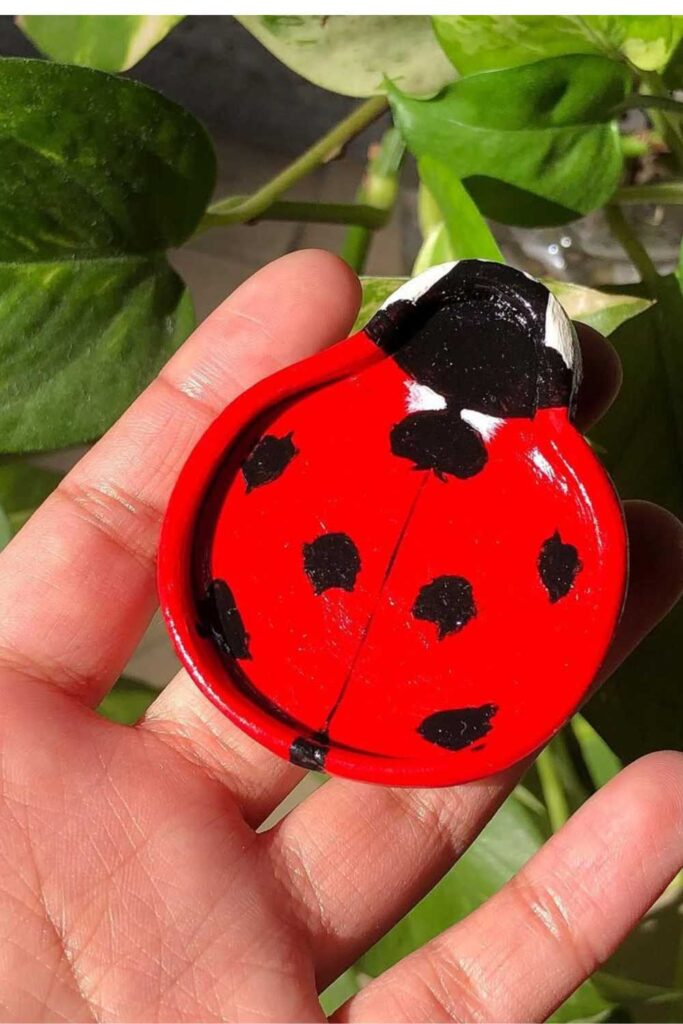
A simple dome shape, just like the turtle shell but smaller. Smooth it nicely. Once dry, paint it red or orange, add black spots, a black head, and the classic line down the middle. Super easy, super effective.
11. Buzzy Bee:
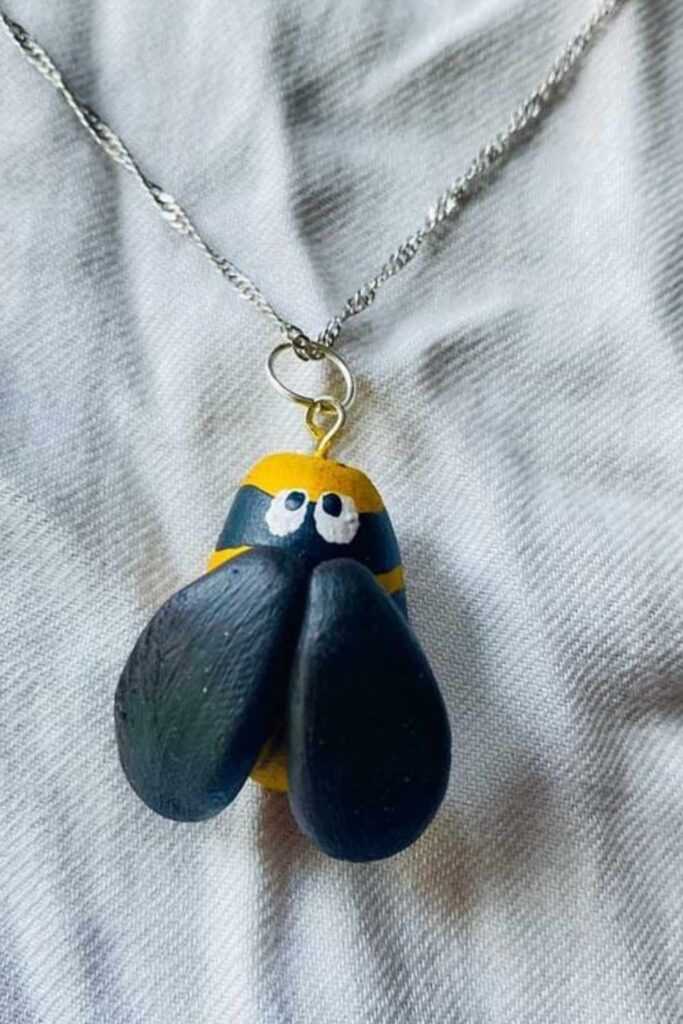
Think of a slightly elongated ball or a small sausage shape, maybe slightly thicker at one end. Add two small, flat teardrop wings on top. Paint on black and yellow stripes and maybe some cute antennae after drying. FYI, these look great glued onto plant pots.
12. Sleepy Sloth (Hanging Version):

This one’s slightly more ambitious, but still easy! Make a simple oval body. Add a round head. Roll two long arms and two slightly shorter legs. Before the clay dries, gently bend the arms over a pencil or dowel rod to create that classic hanging pose. Let it dry on the pencil! Paint sleepy eyes later.
13. Simple Snake:
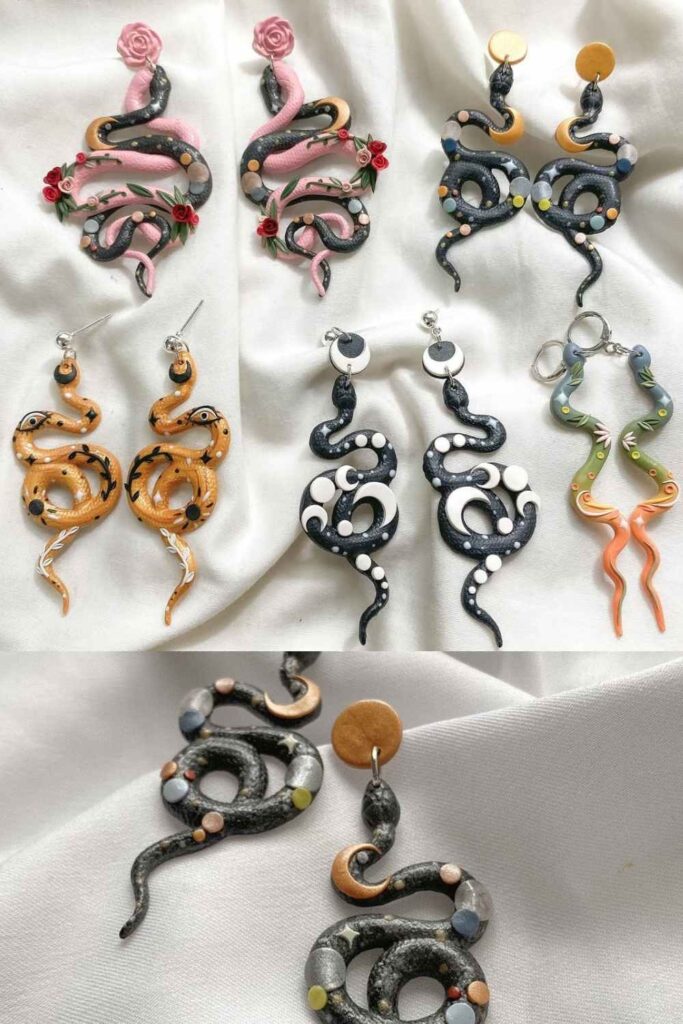
Similar to the worm, but maybe make it a bit thicker and longer. You can coil it up before it dries or leave it outstretched. Etch scale patterns if you feel fancy, or rely on paint for markings like stripes or diamonds.
14. Pudgy Pig:
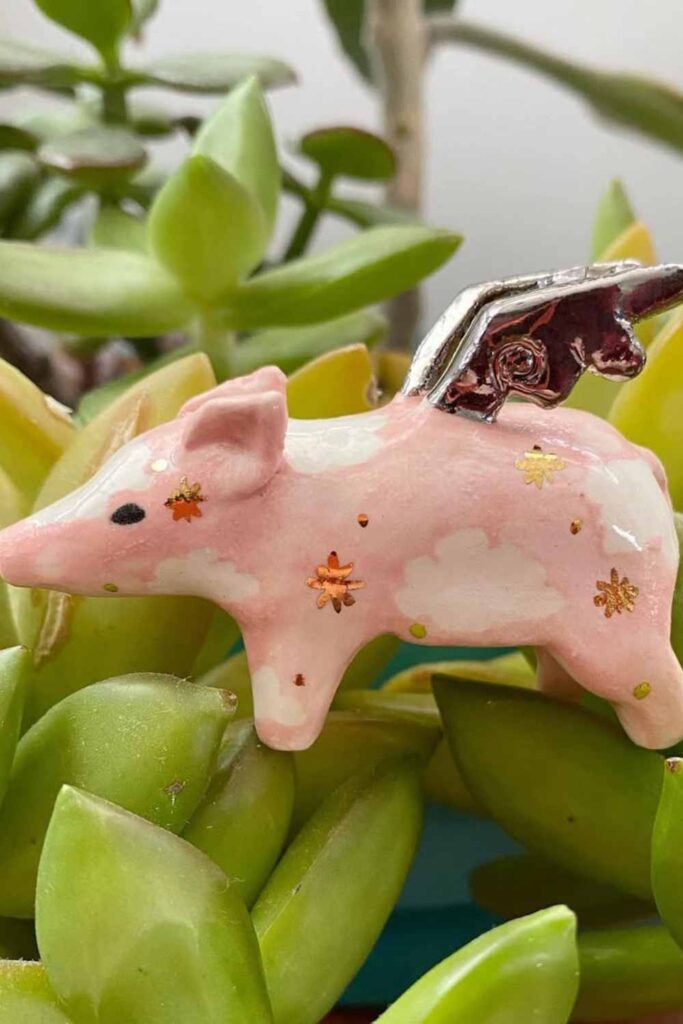
Start with a plump oval body. Add a smaller ball head. Pinch tiny triangle ears. Roll a very thin sausage, curl it for the tail, and attach. A flattened snout disk with two nostril dots finishes it off. Oink!
15. Octopus Friend
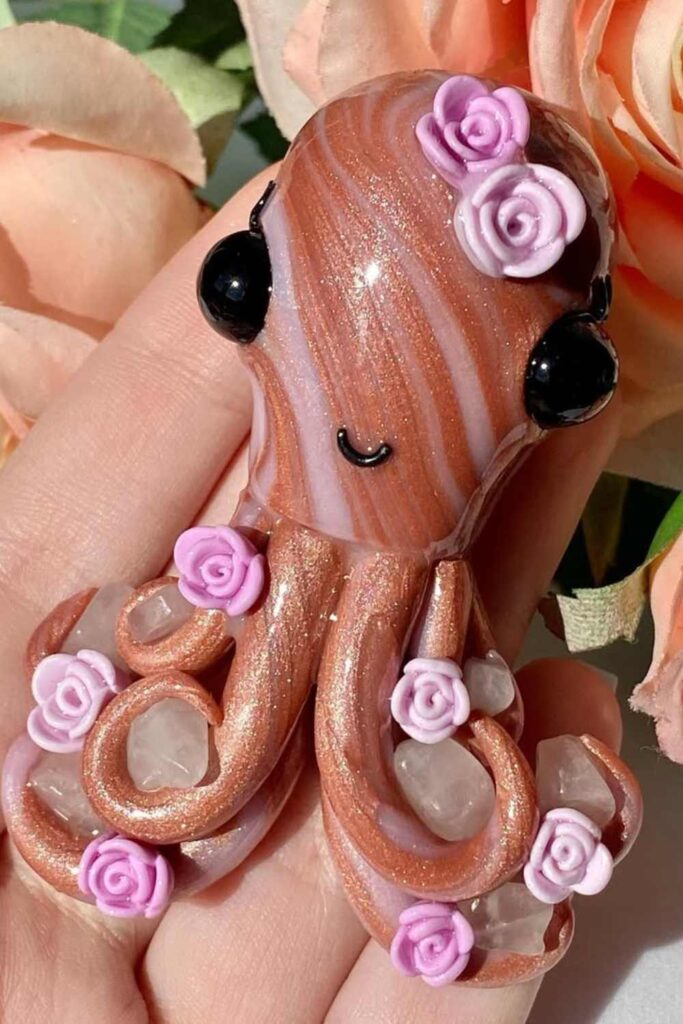
Make a ball for the head/body. Roll out eight (count ’em, eight!) tapering tentacles (sausage shapes, thinner at the ends). Attach them underneath the head, fanning them out. Use a toothpick to add suction cup dots if you’re feeling detailed, or just keep it simple.
Pro Tips Nobody Tells You (But I Will)
Making the shapes is just part one. Here’s some hard-won wisdom to help your critters survive and thrive:
- Smooth Criminal: Keep that little bowl of water handy. Dip your finger lightly and smooth out cracks or seams as you work. Don’t saturate the clay, though – it gets mushy fast.
- Joining Bits: To stick pieces together (like legs to a body), score both surfaces lightly with a toothpick in a crosshatch pattern. Apply a tiny bit of slip (clay mixed with water to a paste consistency) like glue. Press gently. This really helps things stay put as they dry.
- Drying Drama: Air dry clay shrinks as it dries, which can sometimes cause cracks, especially on thicker pieces. Dry your creations slowly, away from direct heat or sunlight. Some people cover them loosely with plastic wrap for the first day. If a small crack appears, you can sometimes fill it with fresh slip or clay paste.
- Patience, Grasshopper: Drying takes time – usually 24-72 hours, depending on thickness and humidity. Don’t rush it! Trying to paint or handle it too early leads to smudges and heartbreak. Trust me on this. :/
- Painting Power: Acrylic paints are your best bet. Apply thin coats; you can always add more. Let each coat dry before adding details. Fine-tip permanent markers are also great for small details like eyes and whiskers after painting.
- Seal the Deal: A coat or two of clear sealant (spray or brush-on varnish, Mod Podge) protects your paint job and gives a finished look. Choose matte, satin, or gloss depending on your preference. IMO, a satin finish often looks best.
Ready to Unleash Your Inner Clay Artist?
So there you have it – 15 genuinely easy air dry clay animal ideas to get you started. See? No terrifying techniques, no expensive equipment, just pure, simple, creative fun. The best part about these projects is that they don’t need to be perfect. A slightly lopsided owl or a cat that looks more like a potato? That’s called character.
Honestly, the process of just squishing the clay and focusing on making something simple is incredibly relaxing. Forget the complex stuff for now. Grab that clay, pick an easy animal, and just enjoy making something with your own two hands. Who knows, you might discover a hidden talent or, at the very least, end up with a cute little desk buddy.
What are you waiting for? Go make some critters! And if you make something cool (or hilariously wonky), I’d genuinely love to hear about it! Happy crafting! 🙂
Related articles:
How to Glaze Air Dry Clay for a Professional Finish
15 Stunning Air-Dry Clay Craft Ideas to Try
How to Make Air Dry Clay Waterproof
20+ Creative DIY Clay Magnet Ideas: Easy & Unique Crafts to Brighten Your Home