How to Glaze Air Dry Clay for a Professional Finish

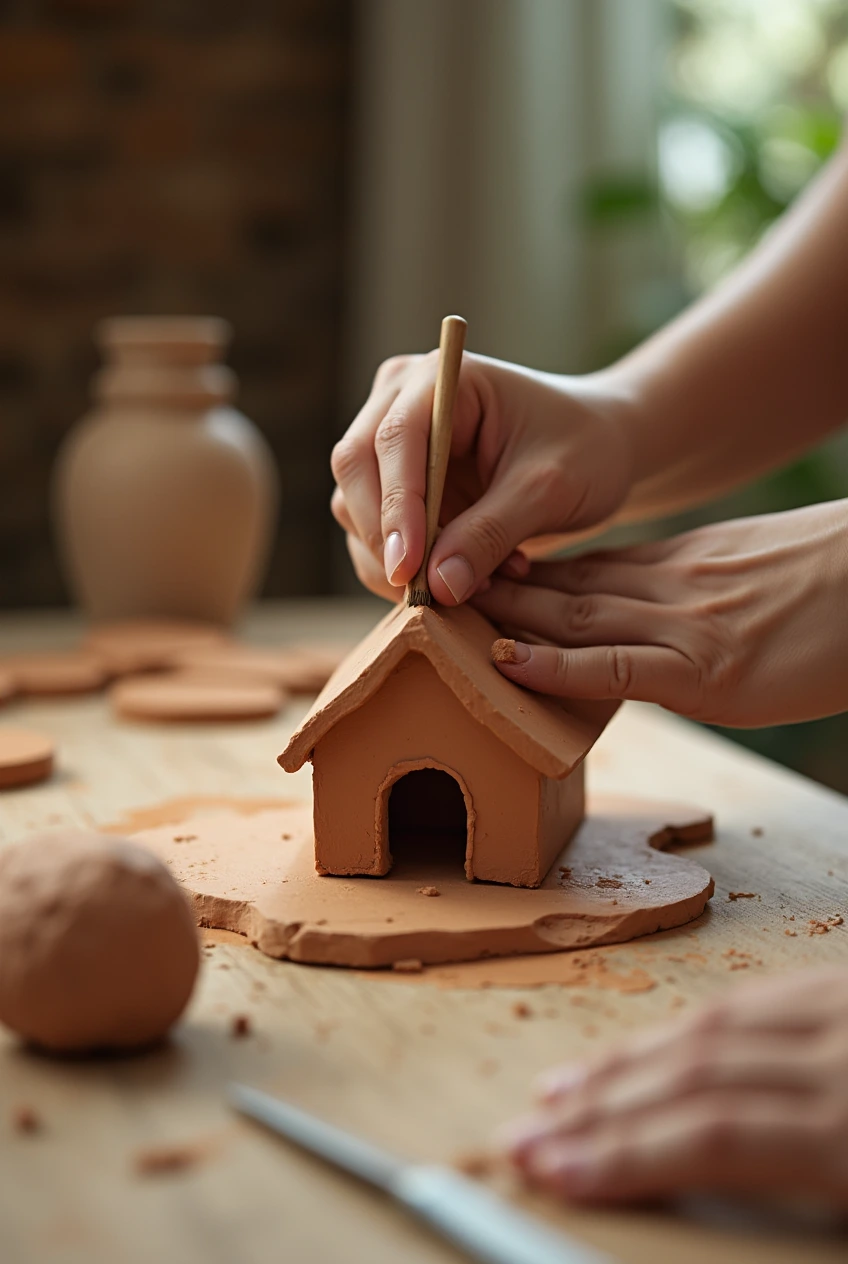
Air dry clay has revolutionized the world of crafting, offering an accessible way to create everything from delicate jewelry to bold home decor. But even the most intricate sculpture can fall flat without the right finishing touch. Glazing isn’t just about adding shine—it’s the secret weapon that transforms fragile clay into durable, eye-catching art. Whether you’re crafting handmade gifts or building a small business selling clay creations, this guide will teach you how to glaze air dry clay like a seasoned artist, using materials you probably already own.
Why Glazing Matters: Beyond Basic Crafting
Before diving into techniques, let’s talk about why glazing is non-negotiable for serious crafters:
- Durability Boost: Unglazed clay chips easily and absorbs moisture. A proper glaze acts like armor against daily wear.
- Color Enhancement: Glazes deepen pigments and add dimension, making painted details pop.
- Texture Perfection: Fill tiny cracks and smooth rough edges for a factory-quality finish.
- Water Resistance: While not fully waterproof, glazed clay survives accidental spills better than raw pieces.
But here’s the catch: Not all glazes are created equal. The wrong technique can leave your project sticky, cloudy, or even cracked. Let’s explore the pros, cons, and best uses for each method.
Acrylic Sealer Spray – The Speedy Solution
Ideal For: Quick projects, textured surfaces, craft fairs
Avoid If: Working indoors without ventilation
Why It Works
Acrylic spray sealers dry faster than brush-on options and create an even coat without brush marks. They’re perfect for pieces with intricate textures (like leaf impressions or geometric patterns) where liquid glazes might pool.
Step-by-Step Process
- The Dry Test: Press your thumb gently into the clay’s underside. If it leaves any mark, wait another 12 hours. Rushing this step causes cloudy patches.
- Spray Zone Setup:
- Outdoors: Choose a dry, low-wind day.
- Indoors: Open windows, lay cardboard on floors, and use a spray booth (a large box works).
- The 8-Inch Rule: Hold the can slightly farther than recommended—about 10 inches away. Closer spraying creates drips; farther away wastes product.
- The Zigzag Trick: Start spraying to the left of your piece, sweep across it in a steady motion, and release the nozzle after passing the right side. This avoids heavy buildup at edges.
- Dry & Rotate: Wait 20 minutes, turn the piece 90 degrees, and repeat. Three thin coats beat one thick glob every time.
Pro Tip: Test sprays on a clay scrap first. Some brands yellow over time—look for “non-yellowing” labels if making white or pastel items.
Mod Podge & White Glue – Family-Friendly Glazing
Ideal For: Kids’ crafts, colored glazes, budget projects
Avoid If: Creating functional items (like coasters)
Why It Works
This pantry staple creates a customizable finish. Mix in acrylic paint for opaque colors or dilute heavily for a subtle sheen. I’ve used this on Christmas ornaments for years—it holds up surprisingly well if layered properly.
Custom Mix Recipes
- Basic Gloss: 3 parts glue + 1 part water
- Wash Effect: 1 part glue + 2 parts water (for a stained-glass look over painted clay)
- Metallic Twist: Add mica powder until the mixture sparkles like liquid starlight
Application Secrets
- Brush Choice Matters: Synthetic taklon brushes leave fewer streaks than natural bristles.
- The Wipe-Down: After applying, gently run a damp paper towel over the surface to redistribute excess glue.
- Fix Cloudiness: If dried glue looks milky, sand lightly with 400-grit paper and reapply.
Storytime: A student once accidentally used glitter glue instead of plain Mod Podge. The result? A viral Etsy line of “galaxy” clay earrings. Don’t fear mistakes—embrace happy accidents!
Polyurethane Varnish – The Heavy-Duty Protector
Ideal For: Jewelry, kitchen decor, outdoor pieces
Avoid If: Prioritizing dry time (oil-based takes 8+ hours)
Why It Works
Polyurethane penetrates clay pores better than surface-level sealers. I’ve stress-tested varnished clay pendants—they survived six months of daily wear without chipping.
Choosing Your Varnish
- Water-Based: Low odor, dries in 1 hour, slightly less durable
- Oil-Based: Longer-lasting, yellows over time (great for vintage looks)
- Marine Grade: Overkill for most projects but withstands patio weather
Pro Application Tips
- Warm It Up: Cold varnish gets gloopy. Let the bottle sit in warm water for 5 minutes first.
- Feather the Edges: When coating flat pieces (like tiles), brush from center outward to prevent edge buildup.
- Fix Bubbles: Breathe lightly on wet varnish—the moisture pops bubbles without touching.
Case Study: A local potter switched to water-based polyurethane for her air dry clay mug handles. Customer breakage complaints dropped by 70% in three months.
Epoxy Resin – The Glass-Like Showstopper
Ideal For: Statement pieces, river-style jewelry, art displays
Avoid If: Short on time or working in small spaces
Why It Works
Resin’s liquid properties self-level into a flawless mirror finish. It’s the only method that truly waterproofs clay long-term.
Safety First
- Wear nitrile gloves—latex dissolves in resin.
- Use a respirator with organic vapor cartridges, not just a dust mask.
- Mix in disposable silicone cups (wooden sticks leave fibers).
The Doming Technique
- Pour resin onto the clay’s center.
- Tilt the piece in all directions until resin barely drips over edges.
- Use a toothpick to guide resin into any missed crevices.
- Cover with a box (dust-free!) for 24 hours.
Cost Hack: Use resin only on the front of pendants or bowls—no need to coat hidden backs.
Beyond Basics: Advanced Glazing Strategies
Layering for Depth
- Wax Resist: Rub candle wax on areas you don’t want glaze, then wash off post-drying for rustic contrast.
- Alcohol Inks: Drop colors into wet resin for swirling galaxies or ocean effects.
- Dual Finishes: Use matte sealer on bases and gloss on raised details for 3D pop.
Reviving Old Pieces
Found a dusty clay figurine from 2018? Lightly sand with 600-grit paper, wipe with rubbing alcohol, and re-glaze. I’ve salvaged garage sale finds into best-selling vintage-look planters this way.
The Humidity Factor
Glazing in muggy weather? Add 1/4 tsp of acrylic retarder to brush-on glazes to prevent premature drying streaks.
What Really Works for Waterproofing
While no glaze makes air dry clay pool-safe, these steps maximize water resistance:
- Seal with two coats of marine varnish.
- Rub carnauba wax over dried glaze.
- Reapply wax every 6 months for outdoor pieces.
Test your waterproofing by leaving a glazed clay spoon in a wet sink overnight. If it softens, add more layers.
Your Glazing Roadmap: Choosing the Right Method
| Project Type | Best Glaze | Dry Time | Kid-Friendly |
|---|---|---|---|
| Delicate jewelry | Resin | 24+ hrs | ❌ |
| Kids’ ornaments | Mod Podge mix | 1 hr | ✅ |
| Outdoor signs | Marine varnish | 8 hrs | ❌ |
| Textured wall art | Acrylic spray | 45 min | ✅ (with mask) |
Glazing as Your Creative Signature
Glazing is where technical skill meets artistic voice. Will your pieces whisper with matte elegance or shout with high-gloss drama? Maybe you’ll invent a new technique—like the artist who mixes crushed seashells into resin for beachy paperweights.
Remember: The “perfect” glaze doesn’t exist. It’s about what makes your creations feel complete. Now grab that clay, experiment fearlessly, and prepare to fall in love with your craft all over again.
Related articles:
How to Glaze Air Dry Clay for a Professional Finish

