How to Make Air Dry Clay Waterproof

Let’s get real for a second. You’ve probably stumbled onto this article because you’ve got a gorgeous air-dry clay creation sitting on your desk—maybe a handmade vase, a quirky coaster set, or your kid’s latest “masterpiece”—and you’re sweating bullets about it turning into a mushy disaster the first time someone spills a drink. Been there, cried over that.
I’m a clay-obsessed artist who’s spent a decade turning fragile, water-wimpy sculptures into pieces that survive everything from toddler tantrums to backyard rainstorms. Today, I’m handing over the playbook—no jargon, no corporate fluff. Just tried-and-true tricks I’ve burned through 27 failed experiments to figure out.
Why Waterproofing Air-Dry Clay Feels Like a Nightmare (And How to Fix It)
Air-dry clay is like that friend who’s amazing until things get messy. It’s cheap, accessible, and perfect for crafting… until moisture hits. Here’s the science without the snooze-fest:
When clay dries, water evaporates, leaving behind tiny pores. Those pores are like secret tunnels for moisture to creep back in. Your sculpture doesn’t just get damp—it turns into a limp noodle.
The Fix? You’ve got to seal those pores shut. But here’s the kicker: Not all sealants are created equal. I learned this the hard way when my “waterproof” resin-coated bowl melted into a puddle during a dinner party. (RIP, avocado dip.)
Method 1: Epoxy Resin—The Heavy-Duty Hero (But It’s a Picky Divx)
Epoxy resin is the Arnold Schwarzenegger of sealants. It’s tough, glossy, and waterproof… if you don’t mess up the mixing. Here’s how I do it:
- Pick Your Resin Wisely:
- For outdoor pieces (think garden gnomes), grab MAS TableTop Pro. It laughs at UV rays.
- For anything near food (decorative fruit bowls), ArtResin is FDA-approved but still not dishwashersafe.
- Prep Like a Perfectionist:
- Sand your piece with 220-grit paper. Miss a spot? Resin will highlight it like a neon sign.
- Wipe with rubbing alcohol. Dust is resin’s mortal enemy.
- Mix Like a Chemist:
- Use a digital scale—no eyeballing. 50/50 ratios or bust.
- Stir slower than you think. Fast = bubbles. Bubbles = ugly craters.
- Apply with Zen-Level Patience:
- First coat: Thin layer with a foam brush. Let it soak into pores for 2 hours.
- Second coat: Pour slowly, tilting the piece like you’re panning for gold.
Pro Disaster Avoidance Tip:
- Work in a room warmer than 70°F. Cold resin cures slower than a sloth on melatonin.
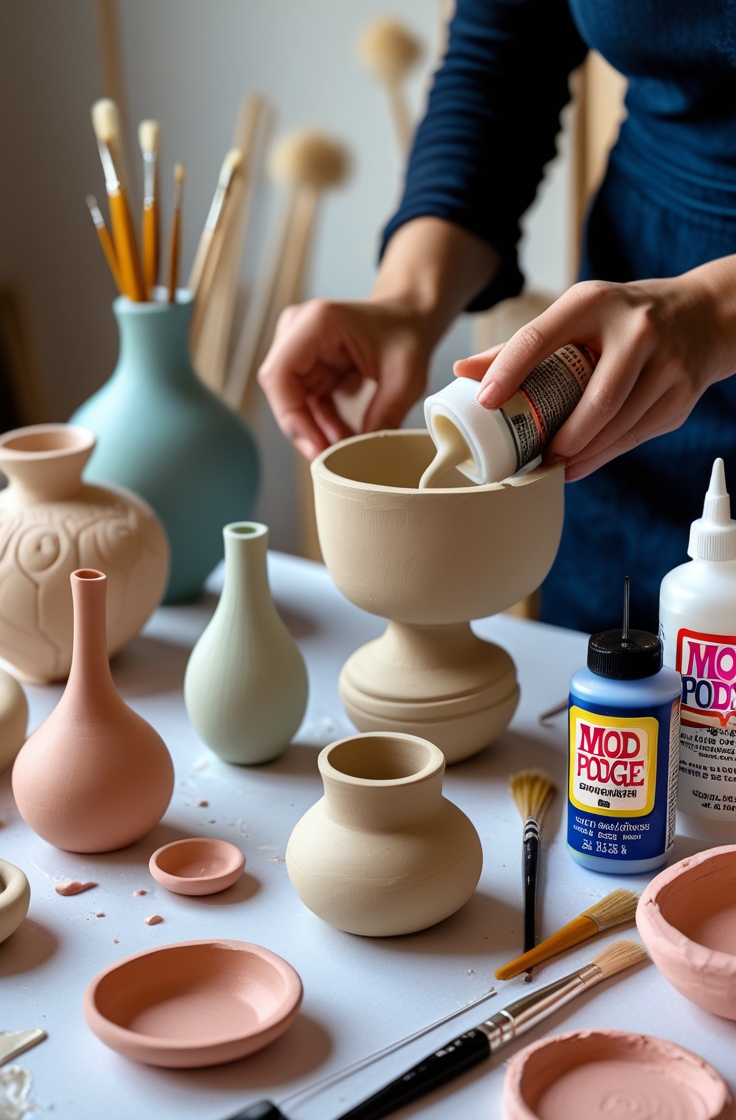
Method 2: Acrylics & Mod Podge—The Lazy Crafter’s BFF
Epoxy’s great, but let’s be honest—sometimes you just want to slap on a sealant and call it a day. Enter acrylics and Mod Podge.
My Go-To Routine for Lazy Days:
- Step 1: Paint your piece with cheap acrylics (Apple Barrel from Walmart works). Thin layers only—thick paint cracks like a dried-up lakebed.
- Step 2: Let it dry overnight. Seriously. Rushing this is how I ruined a 20-hour dragon sculpture.
- Step 3: Brush on Mod Podge Matte. Two coats, 45 minutes apart.
Why This Works (Mostly):
Acrylics + Mod Podge create a flexible “skin” that blocks light splashes. But try washing it? You’ll end up with a tie-dye mess.
Bonus Hack: Add a dash of Distress Crackle Paint under the Mod Podge for a vintage, “found-in-an-attic” look.
Method 3: Spray Varnish—For When You’re Basically a Ninja
Spray varnish is my secret weapon for big, textured pieces (think tree bark sculptures or dragon scales). Here’s the guerrilla approach:
- Shake the Can Like It Owes You Money: 2 full minutes. Skip this, and you’ll get cloudy splotches.
- Spray in the Batcave: Okay, not literally. But work in a garage or outside—this stuff reeks.
- Layer Like a Spy: 3 light coats > 1 globby nightmare. 15 minutes between layers.
Watch Out For:
- Humidity: Spray on a dry day, or your piece will feel tackier than a movie theater floor.
- Yellowing: Use Krylon UV-Resistant Clear Coat. Trust me—it’s saved my outdoor fairies from turning into Oompa Loompas.
The Guide to Fixing Waterproofing Fails
Problem: Your resin is sticky after 48 hours.
Why: You botched the mix ratio or it’s too cold.
Fix: Sand it down, sob a little, remix.
Problem: Acrylics peeled off like sunburned skin.
Why: You painted raw clay without primer.
Fix: Sand, apply gesso, repaint.
Problem: Mod Podge turned milky.
Why: You applied it in a sauna-like bathroom.
Fix: Sand lightly, reseal in a dehumidified room.
The Unspoken Truth: No Sealant Makes Clay Bulletproof
Even epoxy fails eventually. My “indestructible” resin-coated mug lasted 8 months before cracking. The lesson?
- Outdoor pieces: Re-seal every 12-18 months.
- Heavy-use items: Treat ’em gently. No dishwasher rides.
Related article:

