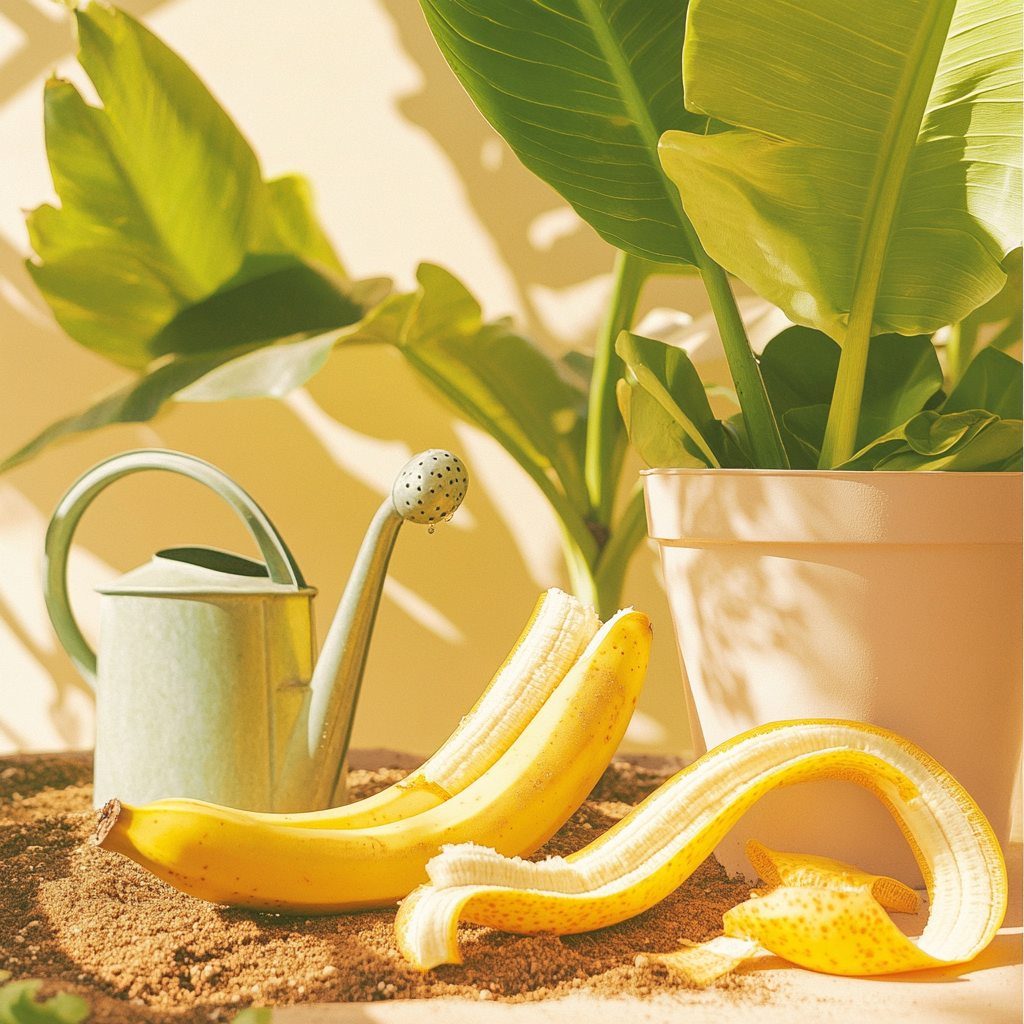
How to Make Banana Peel Soak Fertilizer at Home: A Simple DIY Guide for Your Plants

Creating your own organic fertilizer at home is not only eco-friendly, but it also provides your plants with the essential nutrients they need to thrive. One of the simplest and most effective methods is using banana peels to make a nutrient-rich soak fertilizer. This natural solution is packed with potassium, phosphorus, and other vital minerals, offering your garden and houseplants the nourishment they deserve.
In this comprehensive guide, we’ll walk you through the materials needed and provide a clear, step-by-step process to make your very own banana peel fertilizer.
Materials You’ll Need:
Before you start, gather the following materials:
- Banana Peels: 2–3 peels (fresh or slightly dried)
- Water: 1 liter
- Container: A food-safe vessel (glass jar or plastic container) with a secure lid
- Knife or Scissors: For cutting the banana peels into smaller pieces
- Strainer: To separate the liquid from the solid peel pieces
- Measuring Cup (optional): To measure the water
Step-by-Step Guide to Making Banana Peel Soak Fertilizer
Step 1: Prepare the Banana Peels
Start by cleaning the banana peels. Rinse them thoroughly to remove any dirt, pesticides, or residue. Next, use a knife or scissors to chop the banana peels into small pieces (around 1–2 inches in size). This increases the surface area and allows for better nutrient extraction when soaked.
Step 2: Add the Banana Peels to a Container
Place the chopped banana peels into your chosen container. Make sure the container is large enough to hold both the peels and the water, leaving enough space for stirring or shaking the mixture. A glass jar or plastic container works perfectly for this.
Step 3: Pour Water Over the Peels
Add 1 liter of water to the container, ensuring that the banana peels are completely submerged. You can use either filtered or tap water—both are equally effective for this process.
Step 4: Let the Peels Soak
Seal the container with a lid to avoid contamination and odors. Leave the mixture at room temperature for 24–48 hours to allow the nutrients from the banana peels to leach into the water. For better results, occasionally shake or stir the container to help evenly distribute the nutrients.
Step 5: Strain the Mixture
After soaking for 1–2 days, use a strainer to separate the liquid from the banana peel solids. The liquid is your homemade fertilizer, ready for use. You can transfer it into a watering can or spray bottle for easy application.
Bonus Tip: Instead of throwing away the leftover banana peels, add them to your compost pile or bury them in your garden soil. They will continue to break down and release slow-release nutrients to your plants over time.
Why Banana Peel Fertilizer Works Wonders for Your Plants
Banana peels are a natural powerhouse of nutrients, including potassium, phosphorus, calcium, and magnesium—all of which are essential for plant health. Potassium supports strong root development and overall plant vigor, while phosphorus aids in flower and fruit production. These nutrients are released slowly when soaked in water, making banana peel fertilizer a highly effective organic solution for both garden and houseplants.
The Key Benefits of Banana Peel Fertilizer:
- Promotes Healthy Root Development: The potassium in banana peels strengthens roots, helping plants absorb more water and nutrients.
- Encourages Flowering and Fruiting: Phosphorus boosts the growth of blooms and fruits, making banana peel fertilizer especially beneficial for flowering plants.
- Improves Soil Health: The slow-release nutrients from banana peels enrich the soil over time, promoting a healthier, more fertile growing environment.
How to Apply Banana Peel Fertilizer
Once you’ve made your banana-peel fertilizer, it’s time to use it on your plants. Here’s how to apply it effectively:
For Garden Plants
Water your garden plants with the banana peel fertilizer once every two weeks during the growing season. Apply the liquid directly at the base of the plant, making sure to avoid over-watering. If necessary, use a watering can with a fine spout for better control.
For Houseplants
For indoor plants, it’s best to apply banana peel fertilizer using a spray bottle. Mist the leaves and soil evenly with the nutrient-rich solution. This method ensures that the nutrients are absorbed quickly and effectively by your plants.
Ideal Frequency and Timing
To see the best results, apply banana peel fertilizer about once every two weeks. During the winter months, when plants are generally in a dormant state, you can reduce the frequency of application to once a month.
Additional Tips for Maximizing the Benefits of Banana Peel Fertilizer
- Combine with Other Organic Fertilizers: Banana peel fertilizer works wonderfully in combination with other organic options, such as compost or fish emulsion. This provides your plants with a more balanced nutrient profile.
- Repurpose Leftover Peels: Don’t let the remaining banana peels go to waste. Add them to your compost pile, or bury them directly into your garden beds. They’ll decompose slowly, providing your plants with additional nutrients over time.
Conclusion
Making banana-peel-soak fertilizer is a quick, easy, and sustainable way to nourish your plants naturally. Whether you’re fertilizing your garden or giving your houseplants a boost, this organic solution is packed with essential nutrients that will help your plants thrive. With just a few simple ingredients, you can create a powerful, homemade fertilizer that benefits both your plants and the environment.
Give it a try today, and watch your garden and houseplants flourish with the natural goodness of banana peel fertilizer!


