15 Stunning Air-Dry Clay Craft Ideas to Try
Let me confess: I used to think air-dry clay was just for kids’ handprint ornaments. Then, during a late-night crafting spiral (fueled by too much coffee and a desperate need for distraction), I discovered its magic. No kiln? No problem. This humble material can create everything from jewelry that rivals boutique finds to home decor that’ll make guests ask, “Where’d you buy that?”
Here’s the thing—air-dry clay forgives mistakes. Cracked a sculpture? Turn it into mosaic art. Paint smudged? Call it “watercolor-inspired.” Whether you’re crafting to unwind, decorate on a budget, or make heartfelt gifts, these projects are my tried-and-true favorites. Let’s dive in.
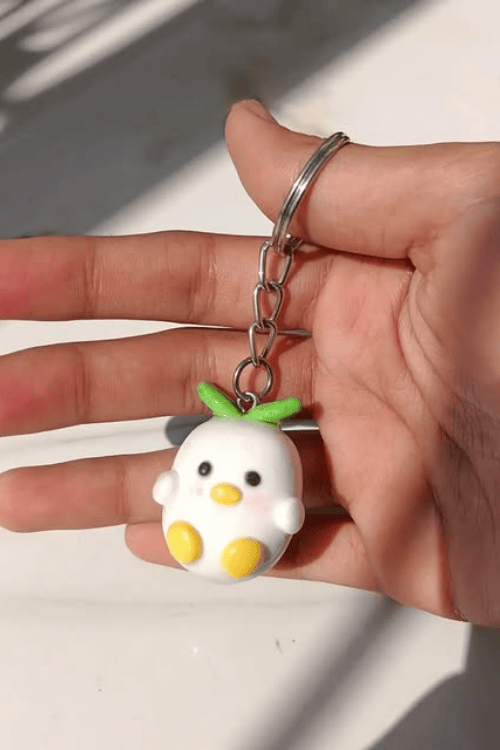
1. Personalized Keychains: Tiny Tokens with Big Impact
Why I Love These: They’re quick, customizable, and perfect for gifting.
What You’ll Need:
- Air-dry clay (I prefer DAS for its smooth finish)
- A rolling pin (or wine bottle—no judgment)
- Metallic acrylic paint (gold or rose gold elevates any design)
- Keychain rings
How I Do It:
- Shape It: Roll clay to ¼-inch thickness. Use cookie cutters for clean shapes (hearts, circles) or carve freehand initials.
- Add Texture: Press lace, leaves, or even a textured napkin into the clay for subtle detail.
- Dry Slowly: Let it air-dry for 24 hours, covered loosely with plastic wrap to prevent cracks.
- Finish: Sand edges with 220-grit sandpaper, paint, and seal with matte varnish.
Tip I Learned the Hard Way: Thick paint cracks. Apply thin layers and let each dry fully.
Style Them: Pair with leather key fobs or gift them as luggage tags for a personal touch.
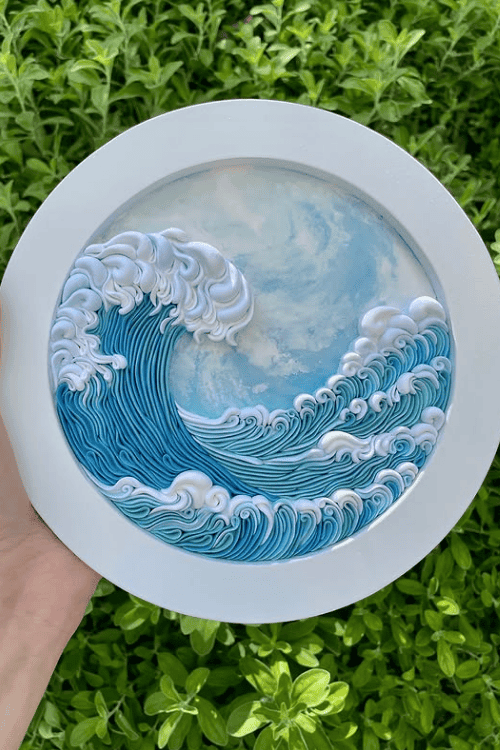
2. Organic Wave Sculpture: Coastal Vibes, Zero Beach Required
Why It Works: Fluid shapes hide imperfections, making this ideal for beginners.
My Process:
- Shape: Roll clay into a thick rope, then twist into gentle curves. Think ocean waves or desert dunes.
- Dry with Care: Place on parchment paper and cover with a damp cloth for 48 hours to prevent splitting.
- Accent: Brush gold leaf onto the peaks for a luxe contrast against matte clay.
Where I Display Mine: On a floating shelf beside trailing pothos plants—it’s calming and chic.
Mistake to Avoid: Rushing the drying process. Patience prevents cracks!
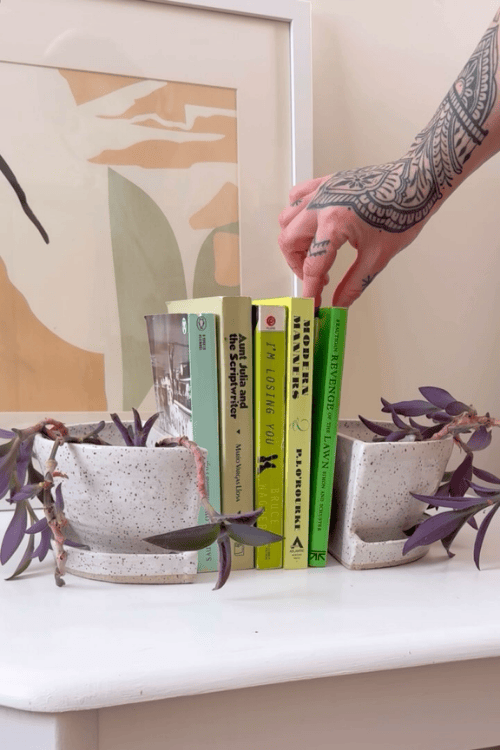
3. Minimalist Monogram Bookends: Functional & Meaningful
Why These Matter: They’re practical and sentimental—perfect for book lovers.
Steps I Follow:
- Carve Letters: Roll clay into 1-inch slabs. Use a craft knife to cut bold initials.
- Reinforce: Press small pebbles into the base for weight.
- Paint: Two coats of matte black acrylic, then seal with varnish.
How They Hold Up: My “M” bookends have survived three moves and a curious toddler.
Design Twist: Try terrazzo effects by kneading colored clay scraps into a neutral base.
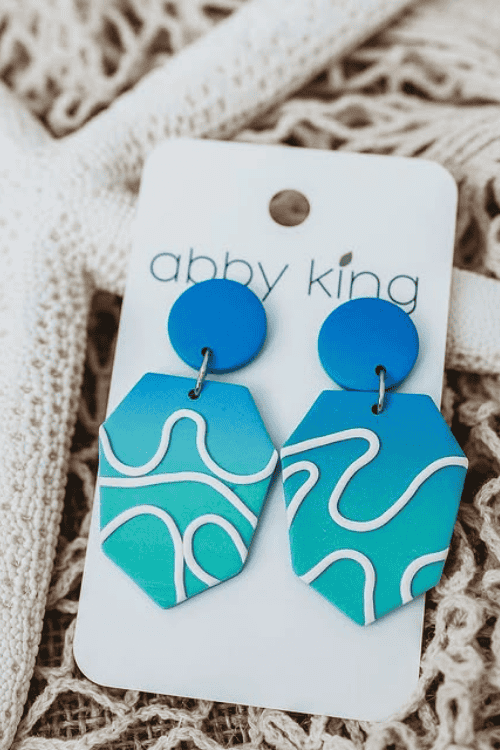
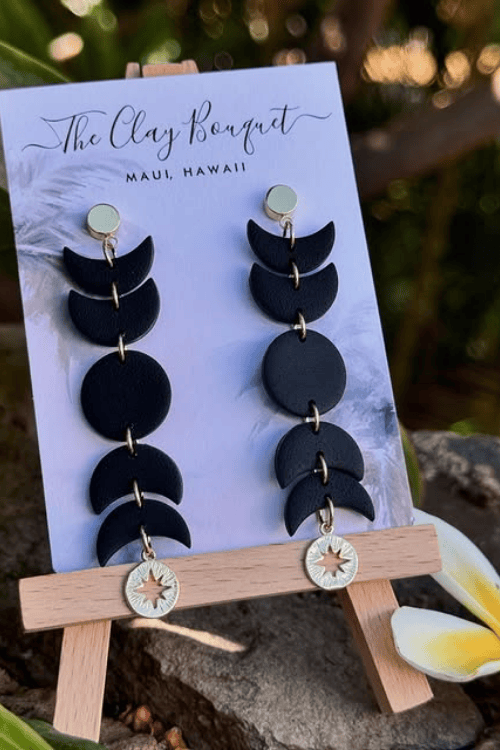
4. Marbled Clay Earrings: Jewelry That Feels Luxe (Without the Price Tag)
Why I’m Obsessed: They’re lightweight, unique, and take 30 minutes to make.
My Go-To Technique:
- Marble: Twist white and terracotta clay until swirled.
- Cut Shapes: Use a shot glass for circles or a knife for abstract forms.
- Finish: Sand edges, add gold jump rings, and seal with clear nail polish.
When I Wear Them: With linen shirts and jeans for a casual-but-polished look.
Pro Tip: Use a toothpick to etch tiny designs before drying for added detail.
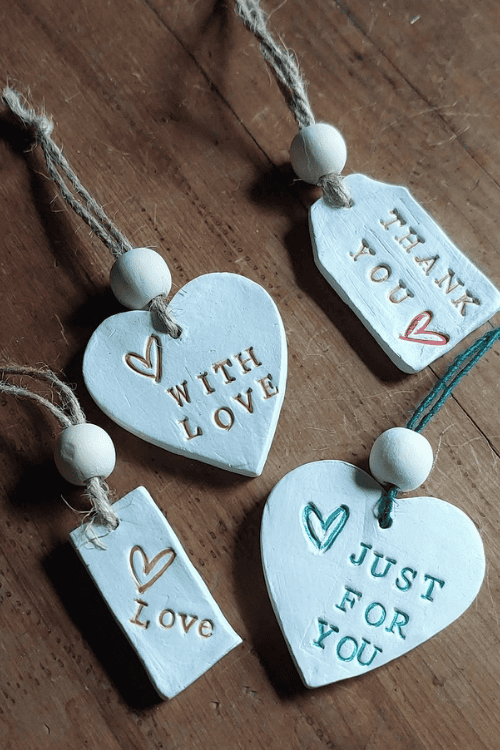
5. Hand-Stamped Gift Tags: Elevate Every Present
Why These Stand Out: They’re keepsakes, not just tags.
My Method:
- Stamp: Roll clay thin, press alphabet stamps into it (I borrowed my niece’s playdough set).
- Dry & Paint: Use watered-down acrylics for a soft wash of color.
- Seal: Matte Mod Podge prevents smudging and adds durability.
How I Use Them: Tied to wine bottles, planters, or holiday gifts. My sister framed hers!
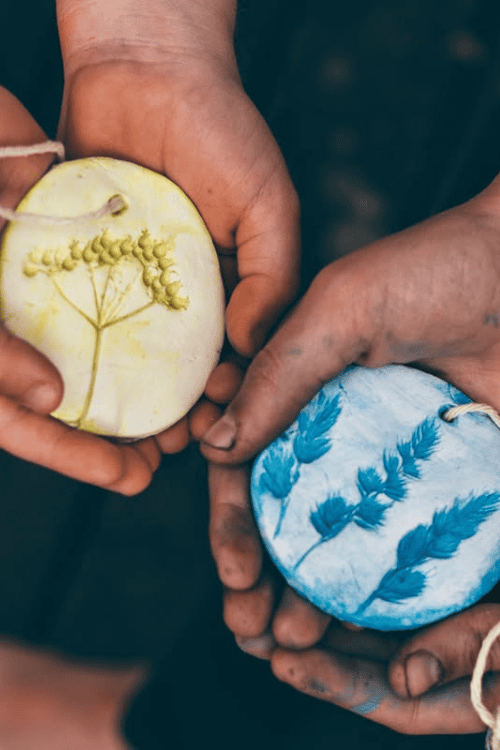
6. Leaf-Imprinted Coasters: Bring Nature Indoors
Why They’re a Hit: They’re functional art with earthy charm.
My Approach:
- Forage: Collect maple or eucalyptus leaves (avoid thick veins—they tear clay).
- Press: Spritz leaves with cooking oil, press into clay, and trim edges.
- Age: Stain with coffee for a vintage look or leave natural for modern minimalism.
My Coasters’ Second Life: They’re now plant saucers for my succulents.
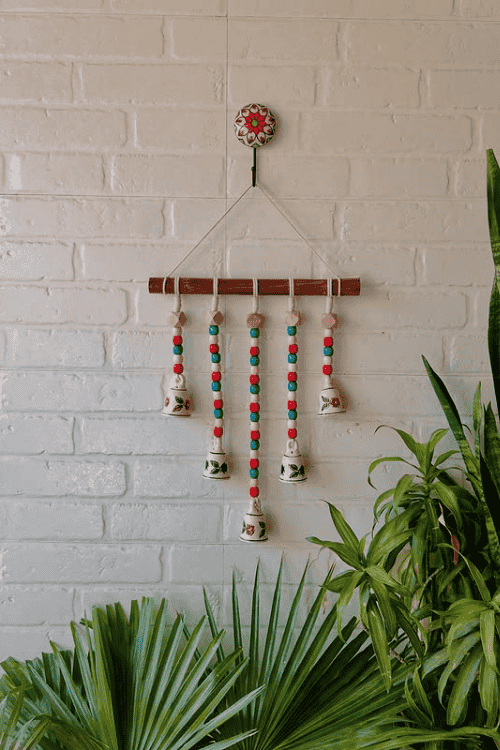
7. Boho Bead Garland: Wall Decor That Feels Effortless
Why I Made This: To add warmth to my stark rental walls.
How To:
- Shape Beads: Roll clay into varied sizes—spheres, ovals, cubes.
- String: Use jute twine and alternate with wooden beads for texture.
- Paint: Muted terracotta and sage tones keep it earthy.
Where It Hangs: Above my bed, paired with macramé plant hangers.
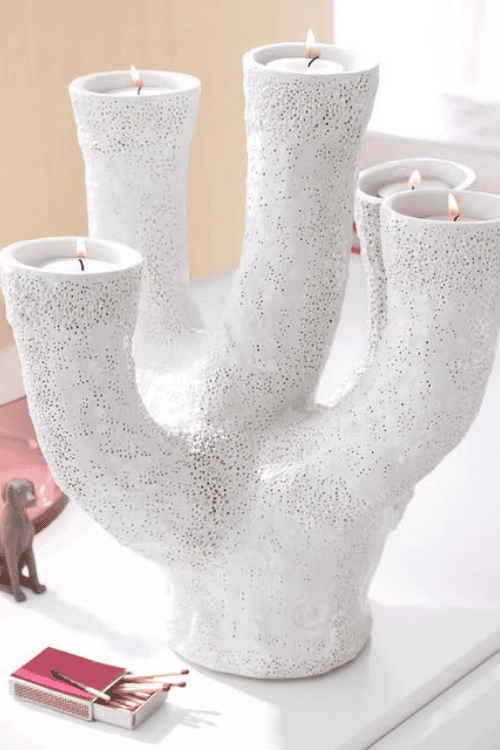
8. Textured Candle Holders: Mood Lighting Made Simple
Why They’re Special: They cast beautiful shadows when lit.
My Technique:
- Mold: Wrap clay around a glass votive (remove once dry).
- Carve: Geometric patterns or organic swirls.
- Paint: Matte white for Scandinavian vibes or charcoal for drama.
Safety Note: I use LED candles—safer and reusable.
9. Sculptural Ring Holder: Keep Treasures Safe
Why I Designed This: After losing my grandmother’s ring (temporarily—panic ensued).
Steps:
- Shape: A coiled base with wooden dowels for slots.
- Paint: Matte blush pink to blend with my vanity.
- Seal: Resin adds a glossy, durable finish.
Now: My jewelry stays organized, and my stress levels dropped.
10. Celestial Wall Hanging: Dreamy Nursery Decor
Why It’s Meaningful: I made this for my niece’s room.
Process:
- Cut Shapes: Crescents, stars, and clouds from clay.
- String: Transparent fishing line makes them appear to float.
- Paint: Soft pastels with iridescent accents for subtle shimmer.
Her Reaction: She calls it her “moon necklace”—worth every minute.
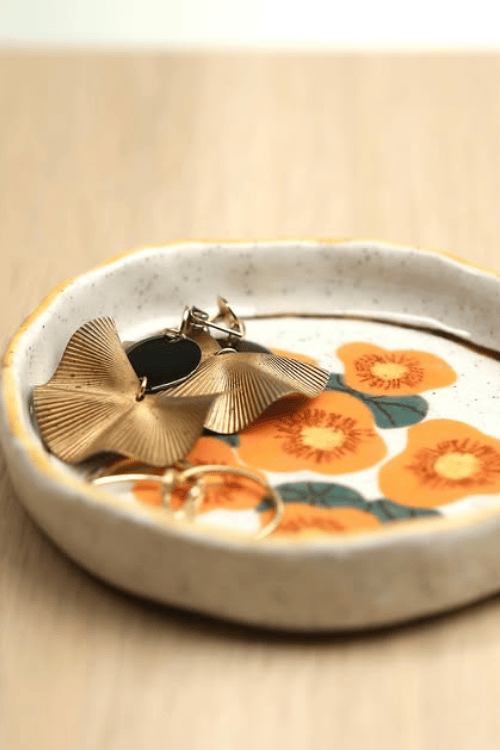
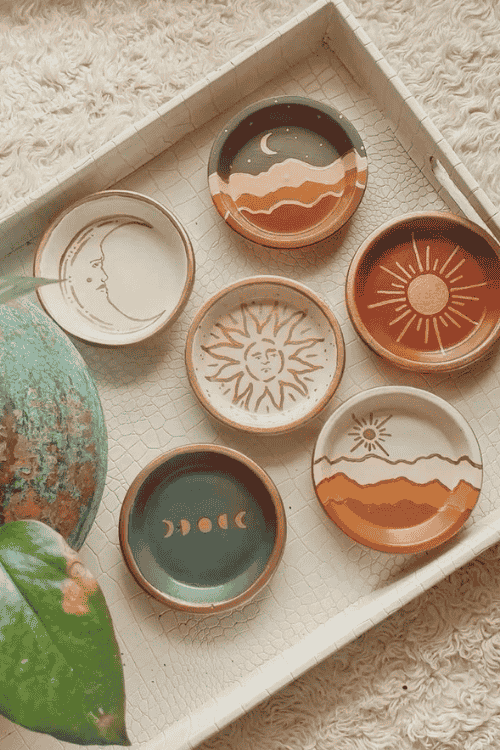
11. Terrazzo Trinket Dishes: Trendy Meets Functional
Why Terrazzo?: It’s timeless and hides imperfections.
My Hack:
- Mix: Leftover clay scraps into a white base.
- Sand: Until smooth for that polished terrazzo look.
- Seal: Matte varnish protects against scratches.
Uses: Hold rings, earrings, or daily vitamins.
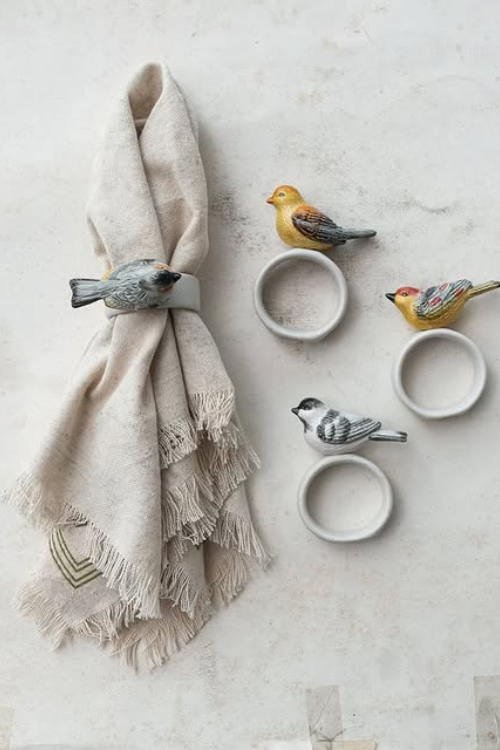
12. Modern Napkin Rings: Elevate Everyday Meals
Why They’re a Staple: They make even takeout feel special.
Steps:
- Shape: Wrap clay around a cardboard tube.
- Imprint: Press lace or dried flowers for texture.
- Paint: Edges in gold for a touch of elegance.
My Dinner Party Trick: Use them to hold handwritten place cards.
13. Custom Cake Toppers: Celebrate Milestones Creatively
Why Homemade?: Store-bought toppers are generic—yours tell a story.
How I Do It:
- Shape: Numbers, hearts, or tiny symbols (a dog for pet birthdays).
- Dust: Edible glitter for sparkle.
- Seal: Food-safe varnish if used on desserts.
Memorable Moment: My friend kept her “30” topper as a desk ornament.
14. Cloud Shelf Decor: Soften Modern Spaces
Why Clouds?: They add whimsy without overwhelming a room.
My Method:
- Sculpt: Free-form cloud shapes with rounded edges.
- Mount: Glue to wooden discs for stability.
- Paint: Matte white or pale gray for subtlety.
Where They Live: On my home office shelf, calming deadlines away.
15. Minimalist Magnets: Organize with Style
Why I Prefer These: They’re functional art for my fridge.
Steps:
- Shape: Tiny geometric forms or nature motifs (leaves, waves).
- Attach: Strong neodymium magnets.
- Seal: Varnish prevents chipping from daily use.
Bonus: My toddler “helps” arrange them—a chaotic masterpiece.
What I’ve Learned Over Years of Clay Crafting
- Embrace Imperfection: My first projects were lopsided. Now, I call that “artistic asymmetry.”
- Invest in Sandpaper: A $5 pack transforms rough edges into pro-level finishes.
- Seal Smart: Matte > glossy. Gloss yellows; matte stays timeless.
- Repurpose Mistakes: Cracked bowl? Smash it into mosaic coasters.
Why Air-Dry Clay is My Therapy
- Mindful Creativity: Shaping clay quiets my racing thoughts.
- Affordable Luxury: A $5 pack creates decor that looks anything but cheap.
- Tangible Joy: There’s pride in saying, “I made that.”
You don’t need to be Picasso. Start with a keychain or coaster. Let your hands learn. Before long, you’ll surprise yourself—I did.

