21 Unique Kitchen Island Ideas That Will Transform Your Space
let’s talk kitchen islands! Seriously, who decided they all had to look basically the same? If yours is feeling a bit… meh… or you’re planning a kitchen revamp, you’ve landed in the perfect spot. I’m kind of obsessed with finding ways to make homes pop, and the kitchen island? It’s prime real estate for personality!
Forget those standard-issue blocks for a minute. We’re diving into 21 unique kitchen island ideas that can genuinely transform your space from functional-but-forgettable to “Wow, where did you get that?!” Ready to ditch the dull and embrace something truly special? Let’s brainstorm together!
Why Bother With a Unique Island Anyway?
Good question! Isn’t an island just for chopping veggies and piling up mail? Well, yes, but it’s so much more. Think about it – it’s often the literal center of your kitchen, the hub where everyone gathers.
Making it unique does a few key things:
- Injects Personality: It’s a chance to show off your style, not just follow a trend. Is your vibe rustic? Ultra-modern? Quirky? Your island can shout it from the rooftops (or, you know, the kitchen floor).
- Creates a Focal Point: A truly interesting island draws the eye and makes the whole kitchen feel more considered and designed. It elevates the entire room.
- Boosts Function (in Creative Ways): Unique doesn’t mean impractical! Many cool ideas actually add more tailored storage or features you wouldn’t get otherwise.
- Adds Value: Let’s be real, a kitchen that stands out can be a major selling point down the line. A unique, well-designed island screams custom.
Basically, settling for a boring island is like wearing beige every single day. Functional, sure, but where’s the fun in that?
Let’s Get Creative: 21 Island Inspirations
Alright, enough chit-chat, let’s get to the good stuff! Here are 21 ideas to get your creative gears turning:
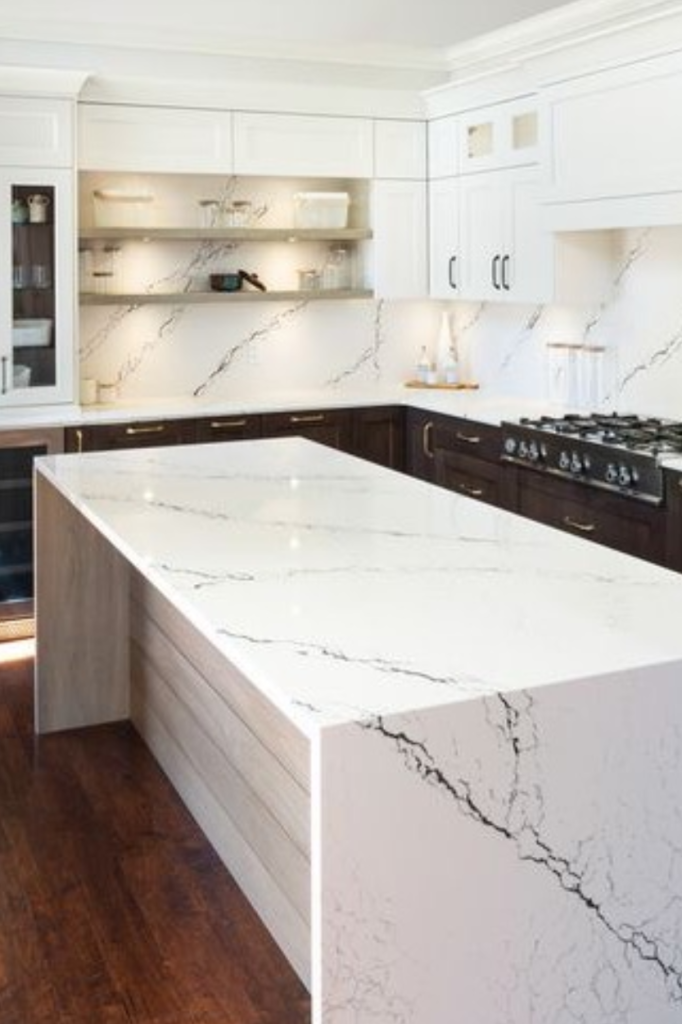
1. The Waterfall Wonder
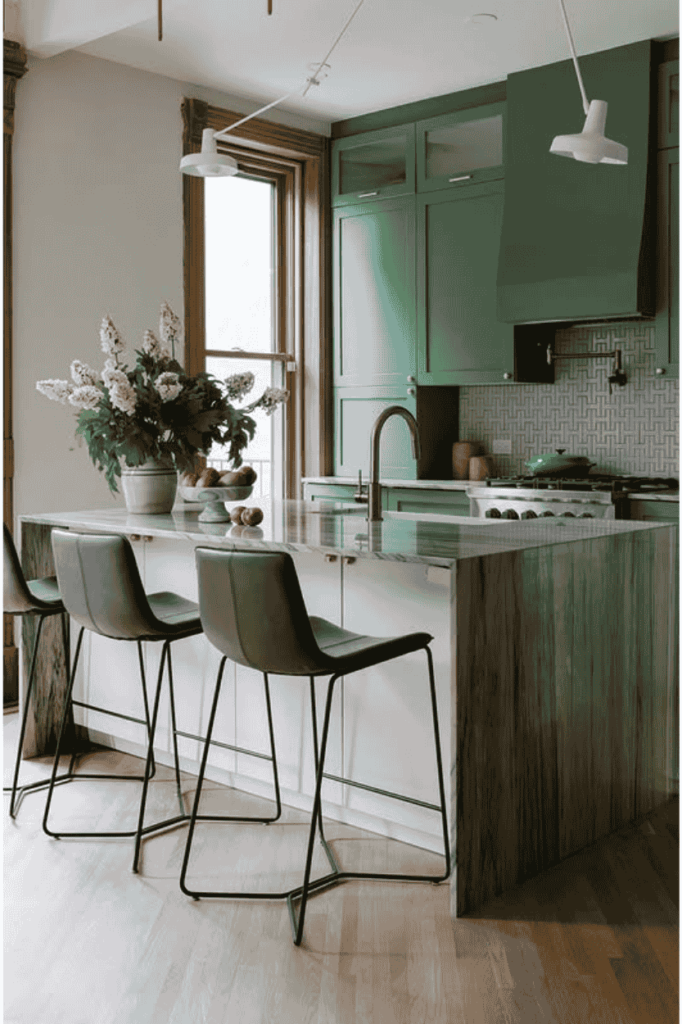
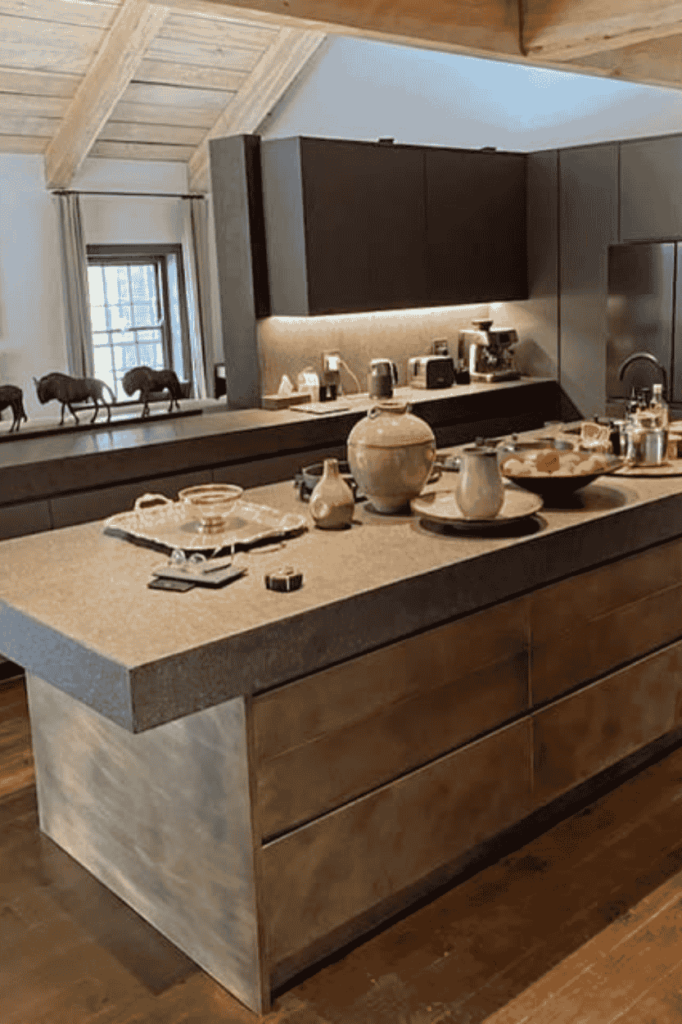
Imagine your countertop material – quartz, marble, even sleek wood – flowing seamlessly down one or both ends of the island to the floor. It’s super modern, incredibly chic, and creates a really cohesive look. It just feels expensive, you know?
2. Double Trouble (Dual Islands)
Got space? Like, really got space? Then two islands might be your dream setup. One can be purely for prep work (maybe with a sink), while the other is dedicated to seating and serving. Ultimate kitchen luxury, IMO.
3. Rolling Rendezvous (Mobile Island)
Perfect for smaller kitchens or those who crave flexibility! A stylish island on sturdy, locking casters can be moved wherever you need it – extra prep space by the stove, a serving station near the dining area, or pushed aside completely for parties. Genius, right?
4. The Storage Superstar
Think beyond standard cabinets. How about:
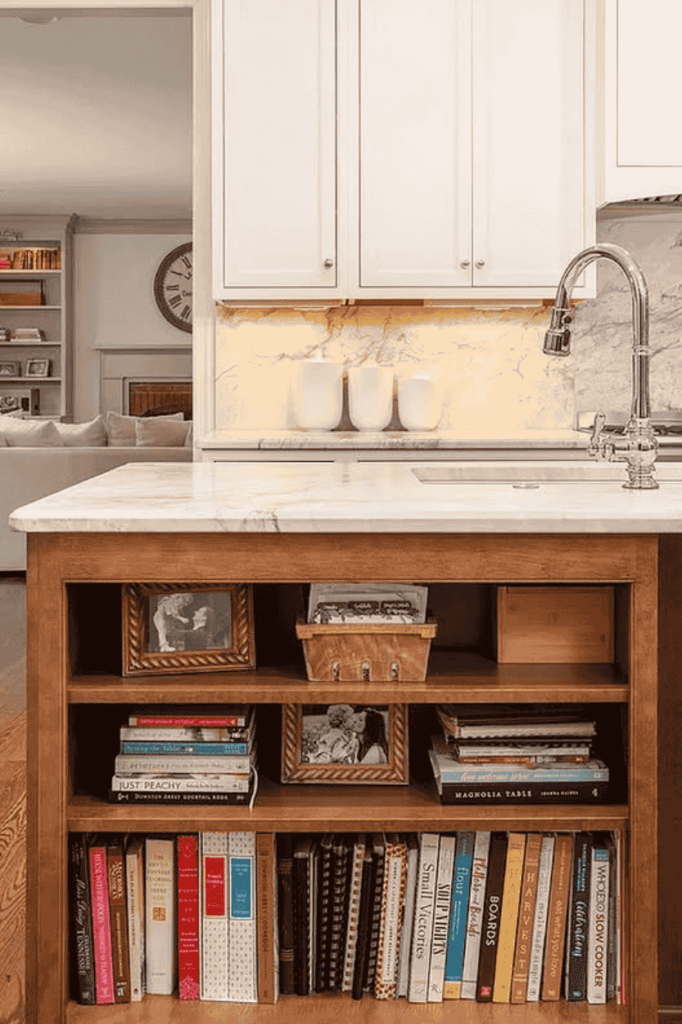
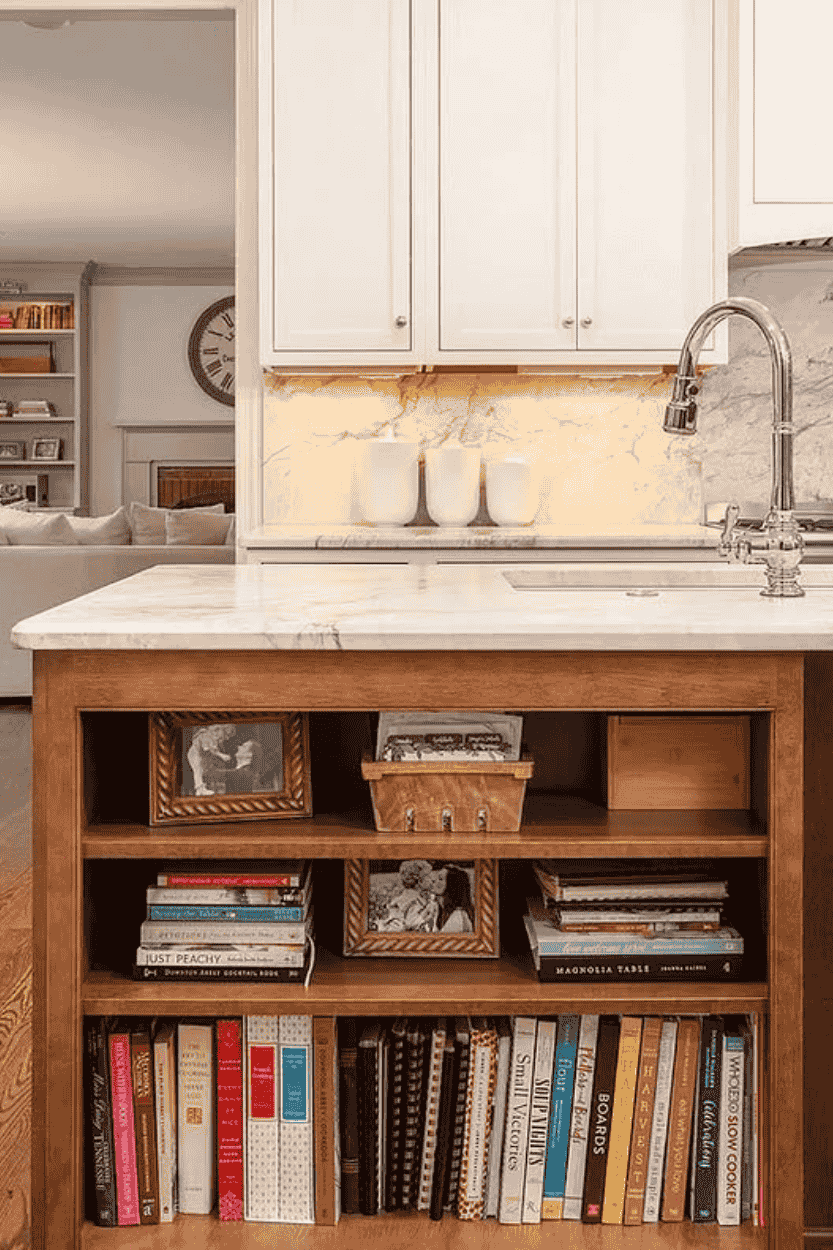
- Open shelving on one side for displaying cookbooks or pretty dishes?
- A built-in wine rack or cubbies?
- Deep drawers specifically designed for pots and pans?
- Pull-out spice racks or trash bins?
- Maximize every single inch in a way that works for you.
5. Reclaimed & Rustic Charm
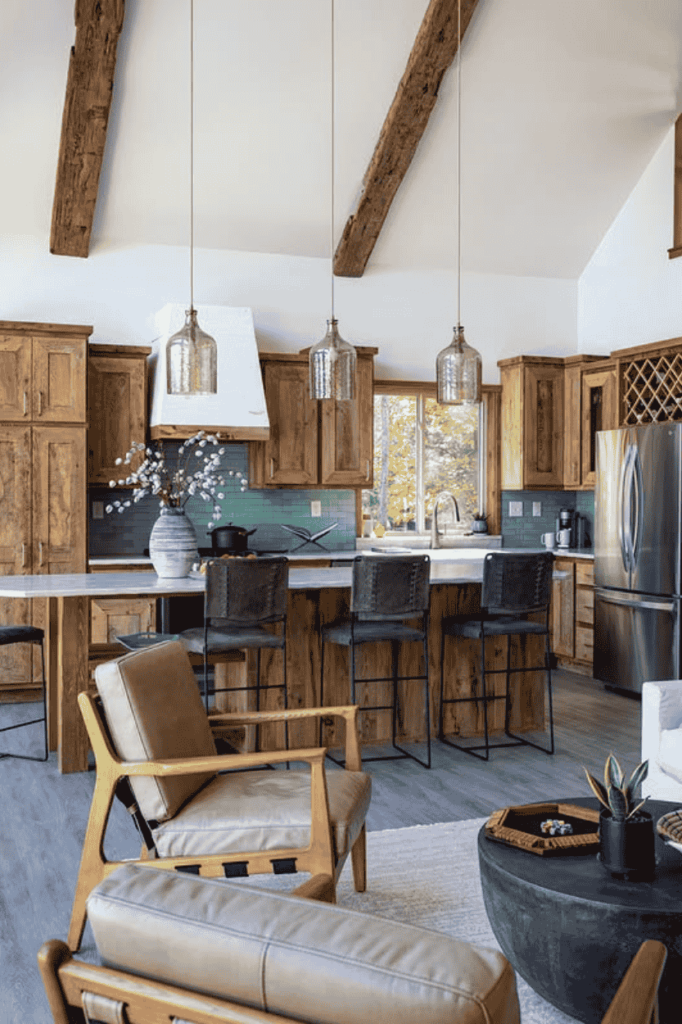
Give an old piece new life! An antique workbench, a sturdy old farm table, or even salvaged butcher block can become an island with unbeatable character. I once saw someone use an old industrial cart – it looked amazing! Adds instant history.
6. Bold Color Pop
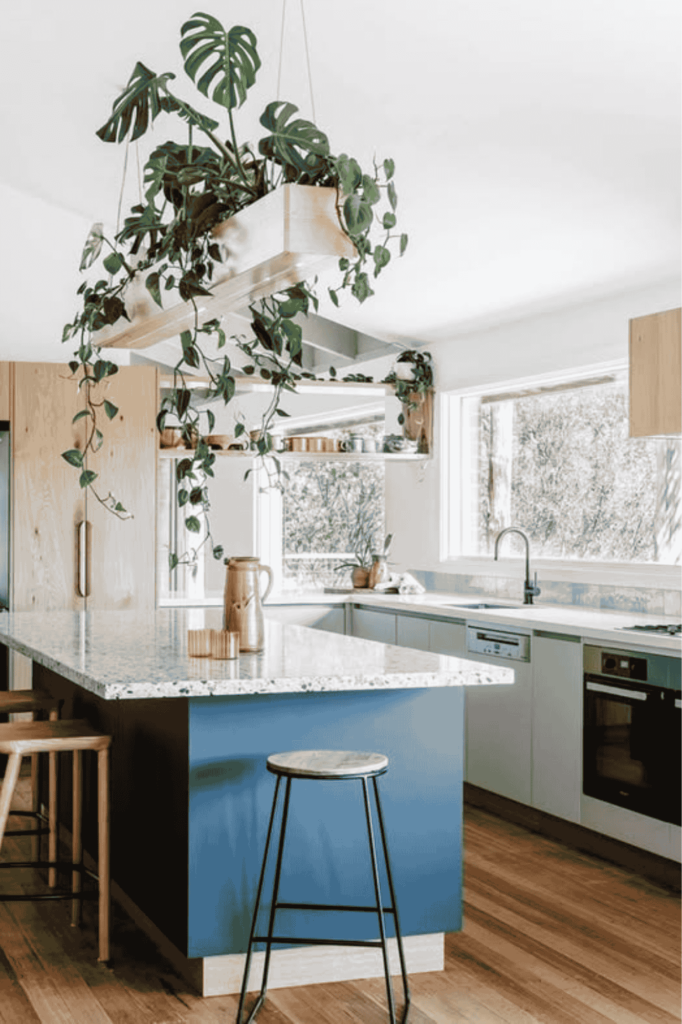
Who says islands have to be white, grey, or wood-toned? Paint that baby! A deep emerald green, a vibrant cobalt blue, a sunny yellow – a bold color turns your island into an instant statement piece. Feeling brave? 😉
7. Metal Marvel
Introduce some industrial chic or modern glam with metal. Think:
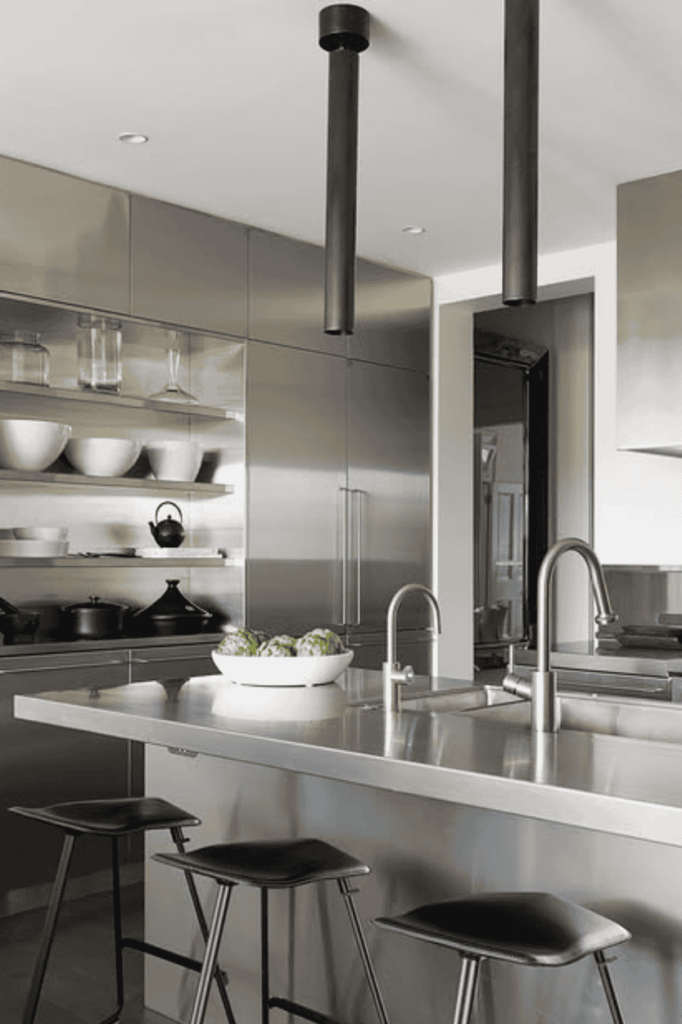
- A stainless steel countertop (like the pros use!).
- A base wrapped in copper sheeting that will patina beautifully over time.
- Iron legs or framework for a sturdy, slightly edgy look.
8. The Baker’s Dream
Love to bake? Customize your island! Include a section with a lower countertop height (ideal for kneading dough or rolling out pastry) made from butcher block. Or, splurge on a marble slab inset – perfect for keeping pastry cool. Your croissants will thank you.
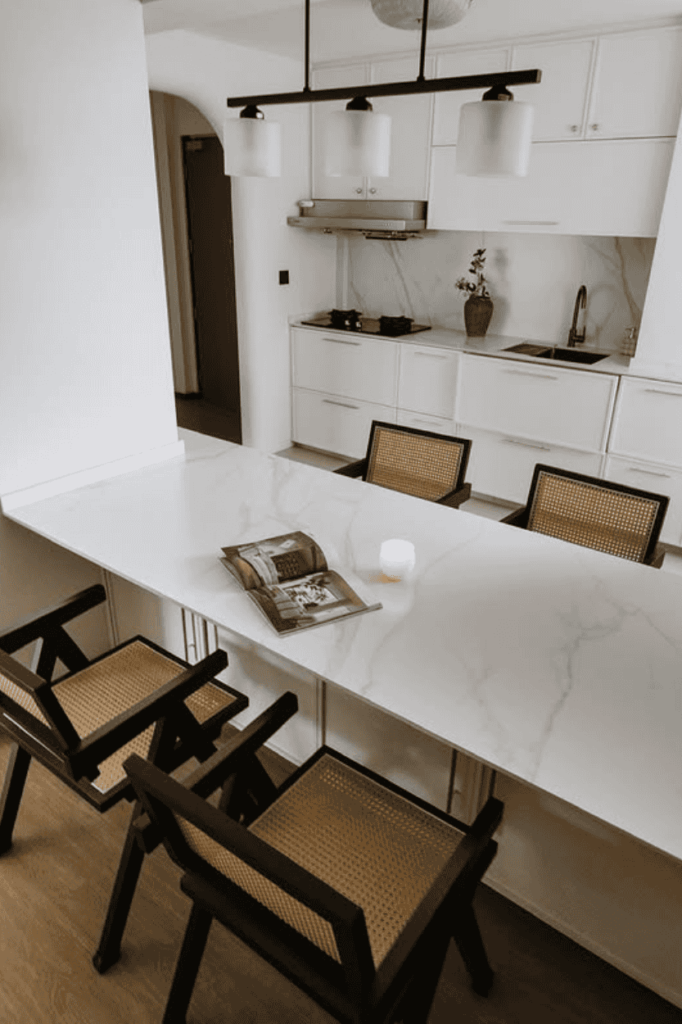
9. Integrated Dining Table
Blend function beautifully by extending your island countertop at table height to create a built-in dining spot. This is fantastic for open-plan living, saving space and creating a casual eating zone right in the heart of the action.
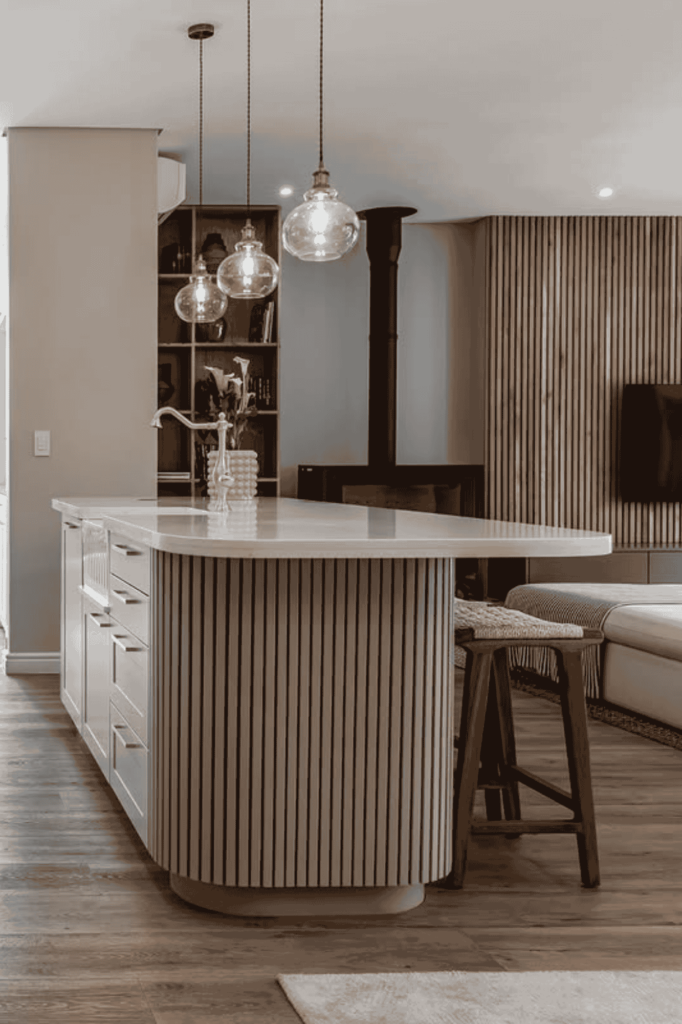
10. Curved & Contoured
Straight lines aren’t the only option! A curved island can soften the look of your kitchen, improve traffic flow (no sharp corners to bump into!), and feel really organic and inviting. It’s a subtle change that makes a big difference.
11. Multi-Level Magic
Why stick to one height? Create visual interest and designated zones with a multi-level island. A higher bar-height section for seating, a standard counter-height area for prep, maybe even a lower section for baking (see #8!). Practical and dynamic.
12. Glass Act
For an ultra-modern, airy feel, consider a glass countertop or integrating glass shelves into the island base. It looks sleek and reflects light beautifully. Word of caution: requires diligent cleaning and maybe isn’t ideal if you tend to, well, drop things heavily. Ask me how I know :/
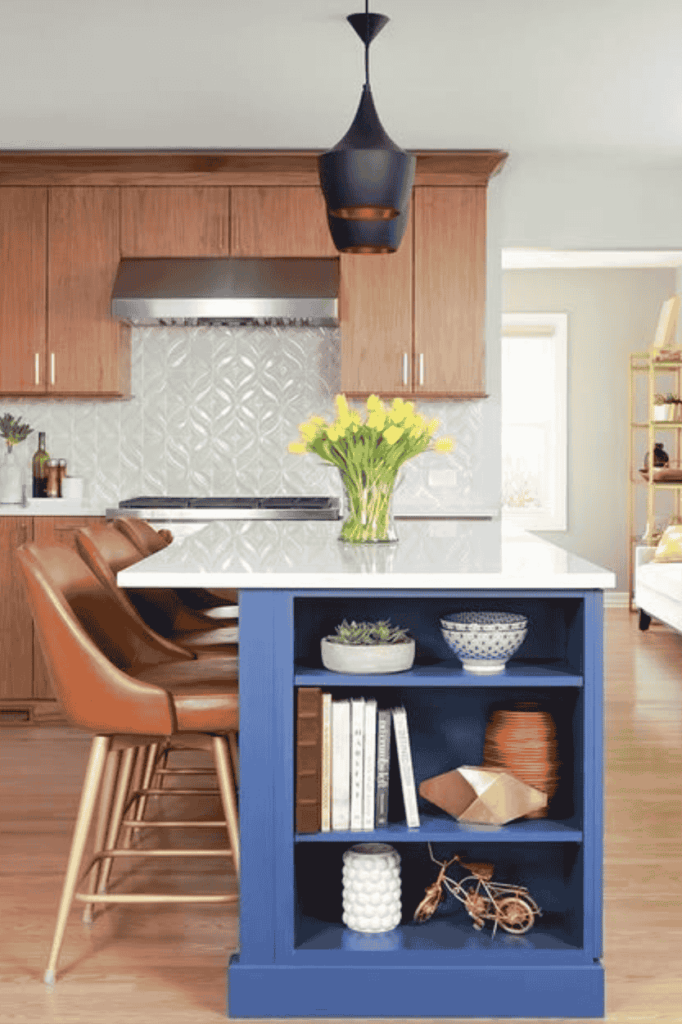
13. Bookshelf Beauty
Integrate bookshelves on the ends or back of your island. Perfect for keeping your favorite cookbooks handy or displaying decorative items. It adds a cozy, almost library-like touch to the kitchen. Unexpected, right?
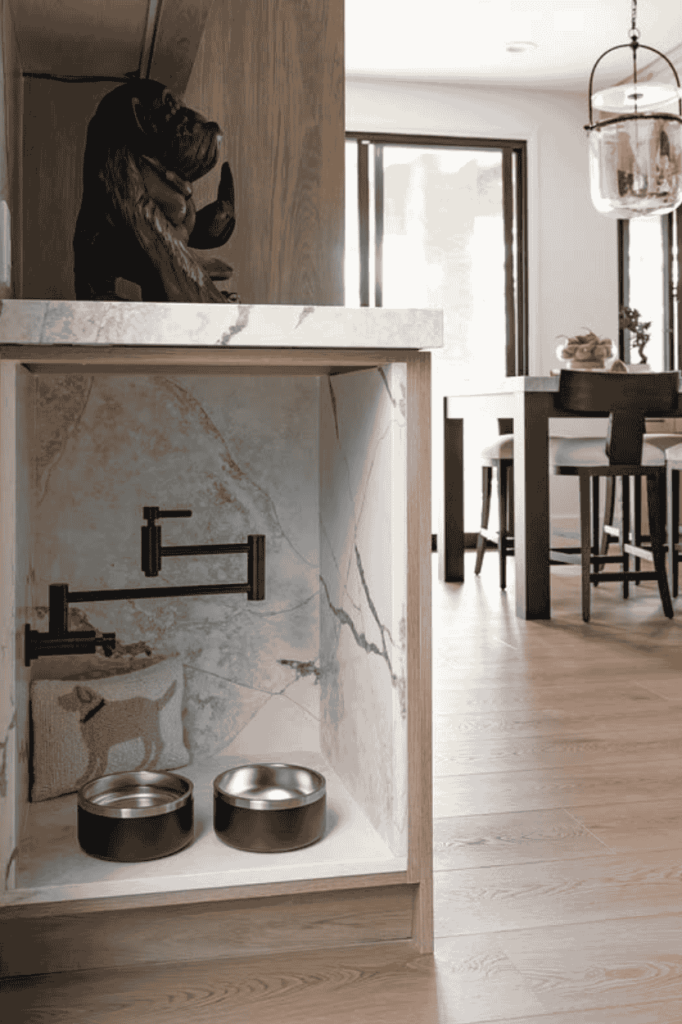
14. Pet Paradise
Are your furry friends always underfoot during meal prep? Designate a spot for them! Build in a little nook for their bed or integrate feeding bowls into the base of the island. Keeps things tidy and gives them their own special place.
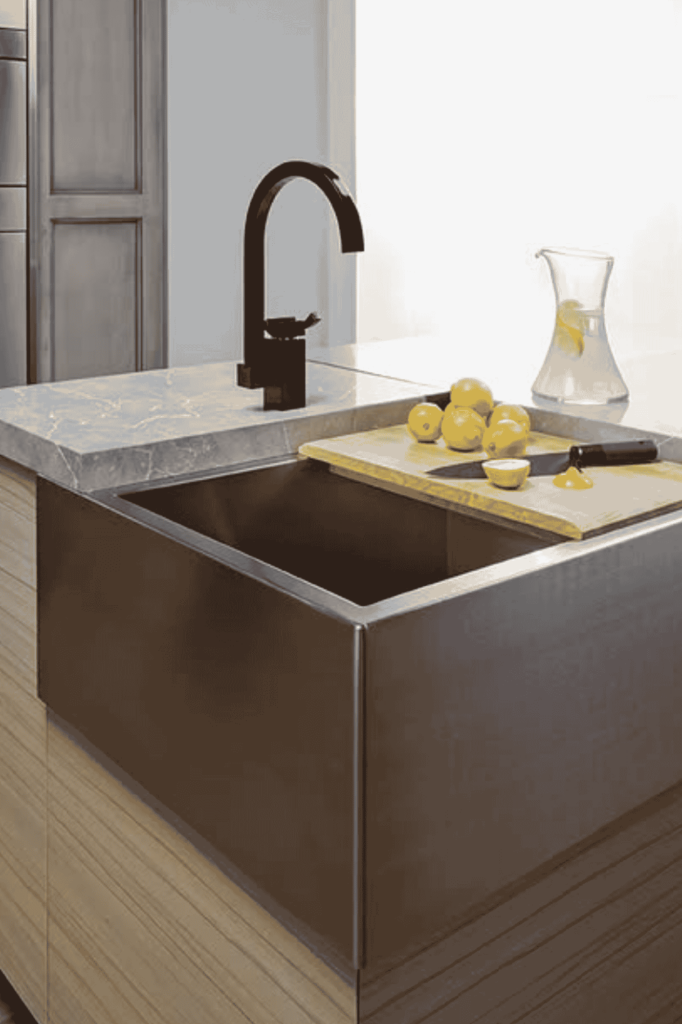
15. Sink Integration Surprise
Sure, a prep sink is common. But what about a long, narrow trough sink filled with ice for drinks during parties? Or a unique sink material like hammered copper or concrete? Make the functional fabulous.
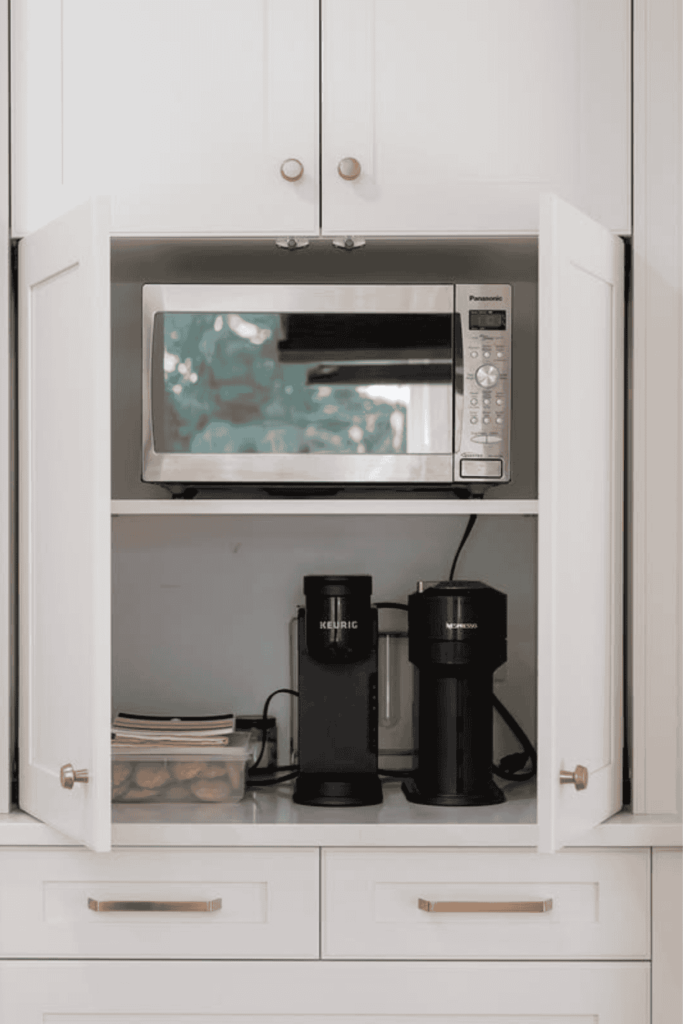
16. Hidden Appliance Haven
Tired of countertop clutter? Design your island with an “appliance garage” (a cabinet with a lift-up or retractable door) or a pop-up lift mechanism for your heavy stand mixer or blender. Out of sight, out of mind… until you need it!
17. The Statement Stone
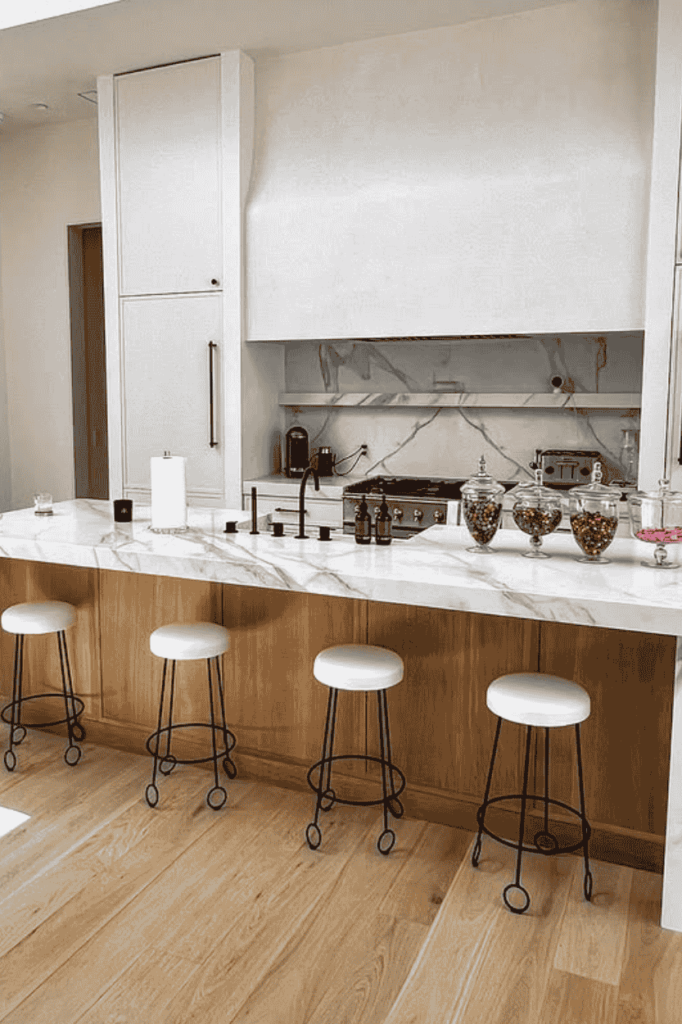
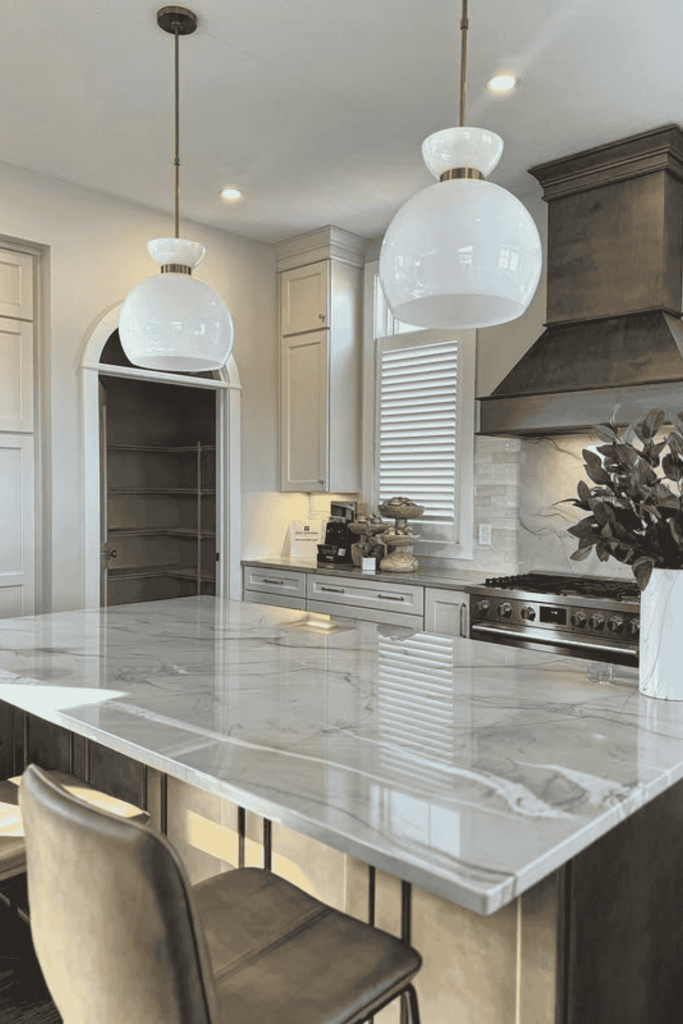
If the budget allows, go for a truly dramatic slab of natural stone like quartzite, onyx, or a granite with spectacular veining for your countertop. Let the stone be the undisputed star of the show. It’s pure, unadulterated kitchen jewelry.
18. Tiled Treasure
Don’t just paint the island base – tile it! Use colorful Moroccan patterns, sleek subway tiles in an interesting layout, or textured terracotta. Tiles add durability, color, pattern, and texture all at once. So many possibilities!
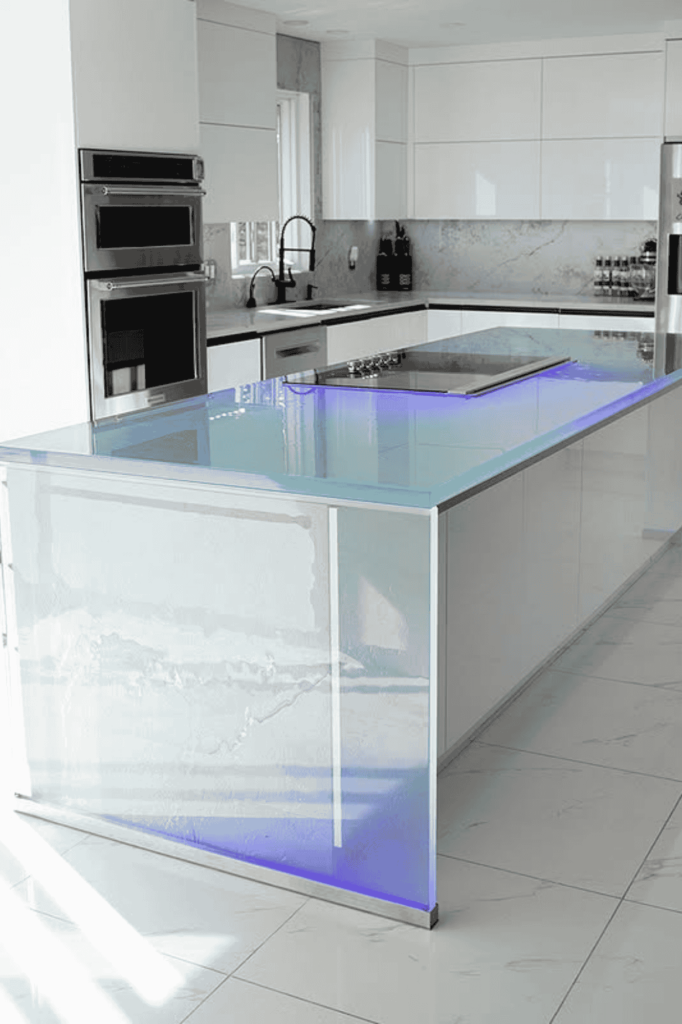
19. Light It Up
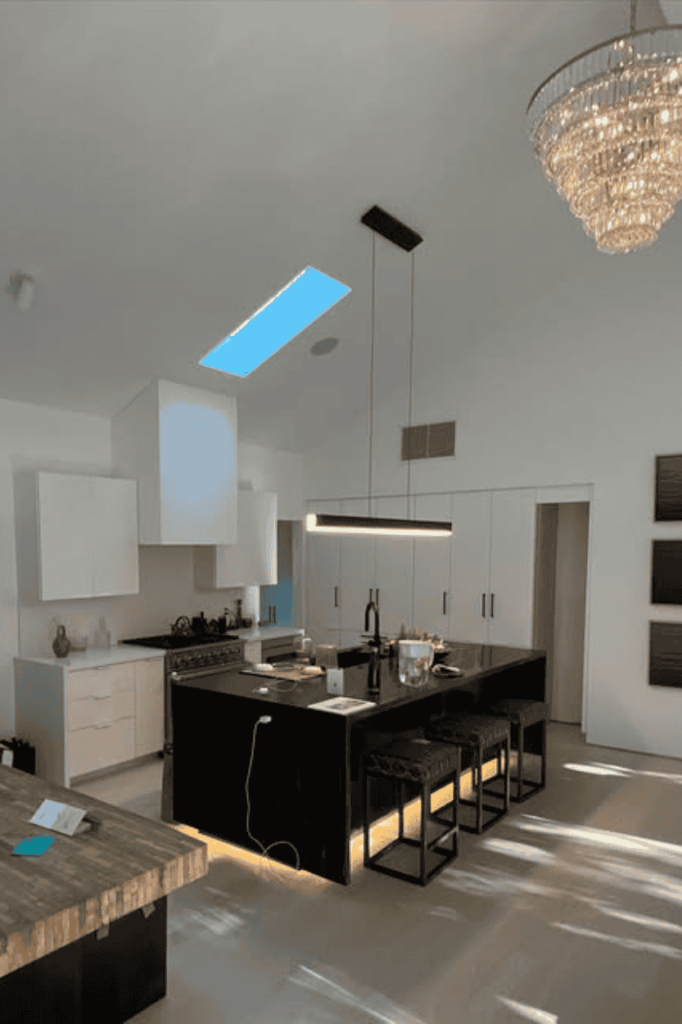
Add some ambiance! Integrated LED strip lighting tucked under the countertop overhang creates a beautiful, soft glow in the evenings. It highlights the island’s shape and makes the kitchen feel instantly more inviting and high-end.
20. Green Thumb Island
Love fresh herbs? Build a small planter box right into your island countertop (ensure it’s properly waterproofed, of course!). Imagine snipping fresh basil or mint just inches from where you’re cooking. Talk about convenient!
21. The Asymmetrical Edge
Who says islands have to be perfect rectangles? Play with asymmetrical shapes, offset levels, or unexpected angles. It’s bold, artistic, and guarantees your island will be unlike any other. This takes guts, but the payoff can be huge!
Things to Consider Before You Commit
Okay, dreaming is fun, but let’s get practical for a second. Before you fall head-over-heels for a giant, two-tiered, reclaimed wood island with a built-in herb garden, keep these points in mind:
Size & Scale Matter
This is CRUCIAL. You need adequate clearance around the island for traffic flow and opening appliance doors (like your dishwasher or oven).
- Minimum clearance: Aim for at least 36 inches (91 cm), but 42 inches (107 cm) is often more comfortable, especially in work zones.
- Measure your kitchen carefully. Tape out the potential island footprint on the floor to visualize it. Don’t create a beautiful bottleneck!
Function First
What’s the primary job of your island?
- Is it mainly for prep space? You’ll want durable countertops and easy access to the sink/stove.
- Is seating a priority? Ensure comfortable legroom and overhang for stools.
- Need tons of storage? Focus on drawers, cabinets, and clever solutions.
- Planning to house appliances (cooktop, sink, microwave drawer)? Factor in plumbing and electrical needs early.
- Be honest about how you use your kitchen. Design the island to support that, then make it pretty.
Material Matchmaking
Think about durability, maintenance, and style cohesion.
- Countertops: Quartz (durable, low maintenance), Granite (durable, unique patterns), Marble (beautiful, but porous/stains easily), Butcher Block (warm, requires oiling/sealing), Stainless Steel (hygienic, shows fingerprints), Concrete (industrial, can patina).
- Base: Wood (classic, paintable), Tile (durable, decorative), Metal (modern/industrial).
- How does it blend with your existing cabinets, flooring, and backsplash? You want it to stand out, but not stick out like a sore thumb (unless that’s the look you’re going for!).
Budget Blues (or Joys!)
Let’s face it, unique features and custom work can add up.
- Factor in everything: Materials (countertop, base), hardware (pulls, hinges), labor (installation, plumbing, electrical if needed), and any specialty items (custom woodwork, stone fabrication).
- Get quotes! Don’t guesstimate, especially for custom work.
- DIY Savings: Some ideas (like painting an existing island, adding open shelves, or using a mobile cart) can be more budget-friendly if you’re handy. FYI, a fresh coat of paint works wonders!
Making It Happen
Feeling inspired? Awesome! The next step is turning that vision into reality.
- Gather More Inspiration: Keep browsing! Pinterest, Houzz, Instagram, and kitchen design magazines are your best friends here. Save images you love.
- Consult the Pros: If you’re planning significant changes or custom features, talking to a kitchen designer or a skilled cabinet maker is invaluable. They can help refine your ideas, ensure practicality, and manage the project.
- Embrace DIY (If You Dare): For simpler updates like painting, changing hardware, or even building a basic mobile island from scratch, there are tons of tutorials online. Just know your limits and safety basics!
Your Kitchen’s Next Chapter
Phew! We covered a lot of ground, from waterfall edges to hidden pet beds. The main takeaway? Your kitchen island doesn’t have to be an afterthought. It’s a fantastic opportunity to inject serious personality and smart function into the heart of your home.
Whether you go for a bold color, clever storage, a unique material, or an unexpected shape, choose an idea that truly resonates with your style and how you live. Don’t be afraid to step outside the standard cabinet box!
So, which of these ideas got your imagination fired up? I’d love to know! Now go forth and plan that amazing island transformation – your kitchen deserves it! 🙂

